Let's look at a few different ways to turn your scribe into a video (also known as publishing or rendering)
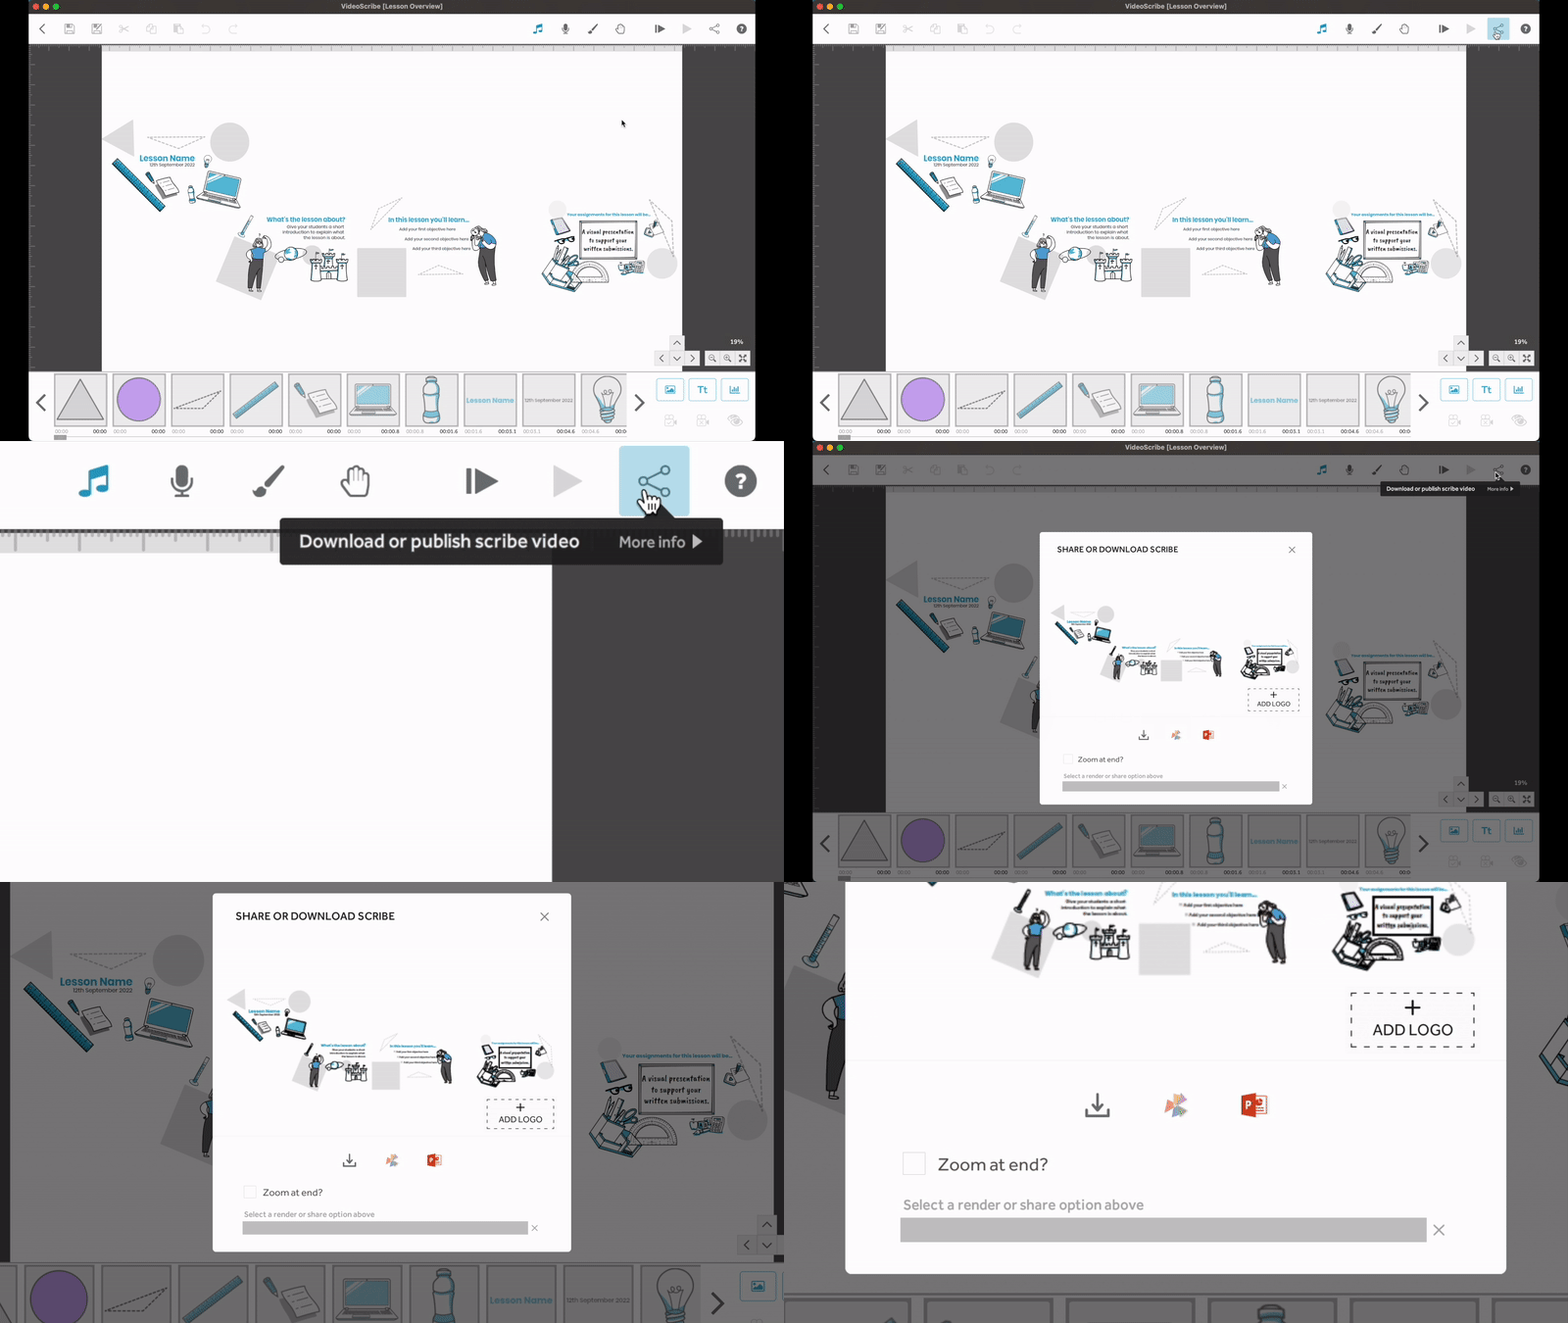
Select the ‘Download or publish scribe video’ icon in the top right corner of the screen. This will give you three download options:
- Publish locally on your computer
The file formats include MOV, WMV, AVI, PNG/ JPEG image sequence - Publish to MP4 via sho.co
Download your project as an MP4 - Publish to PowerPoint
Create a video file within a PowerPoint

Please note: Free trial users will not be able to render at higher resolutions and frame rates and are limited to MOV, WMV and PowerPoint file formats.
Publish locally on your computer
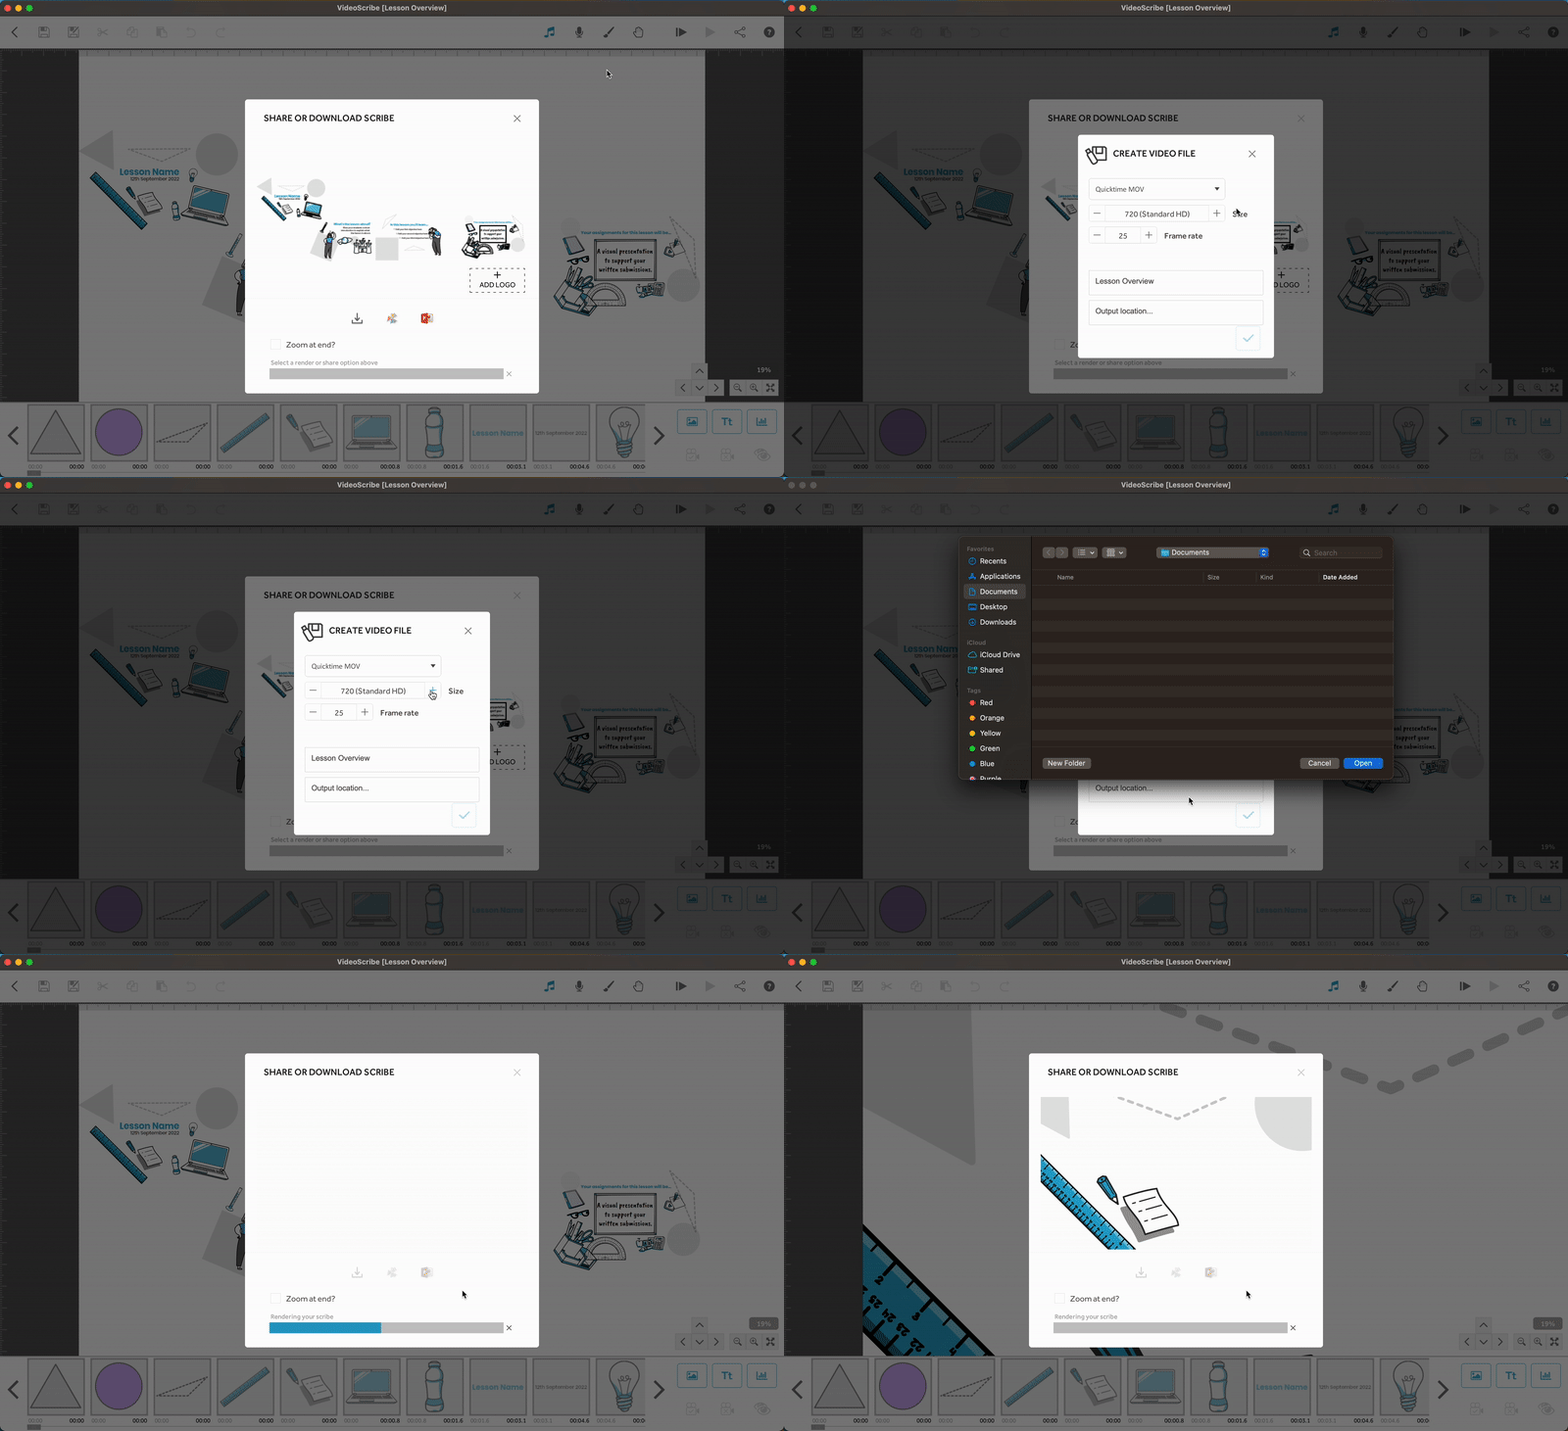
This will create a video file that is saved to your computer. You can choose the following settings for your video:
File Type - choose the file format to render your video to:
- MOV - QuickTime file format (the most commonly used format/ default option)
- WMV - Windows Media Video (unavailable for Mac users)
- AVI - Audio Video Interleave (commonly used with VLC player)
- PNG Image Sequence - created with a transparent background for use in other video editing software
- JPEG Image Sequence - for use in other video editing software
Size - choose the resolution of your video:
- 1080 (Full HD)
- 720 (Standard HD)
- 640 (Normal)
- 360 (Web/Mobile)
Frame rate - the number of frames per second within the video:
- 25 is the industry standard frame rate and recommended option.
Once you have selected your video settings, enter the project name and select the output location on your computer where you want to save your video file. Click the tick to render the video. When the render is complete, you can find it in your selected location on your computer.

Top tip: Rendering time will depend on the length, number of elements, how complicated the scribe is, and the quality of any imported images. Lengthier videos will take longer to render- keep your audience engaged with shorter videos! Check out more advice on supercharging your videos in our blog post here.
Publish to MP4 via sho.co
Sho.co is where you can download an MP4 version of your video. Our servers will render the video in an MP4 format so you can continue working on other projects.
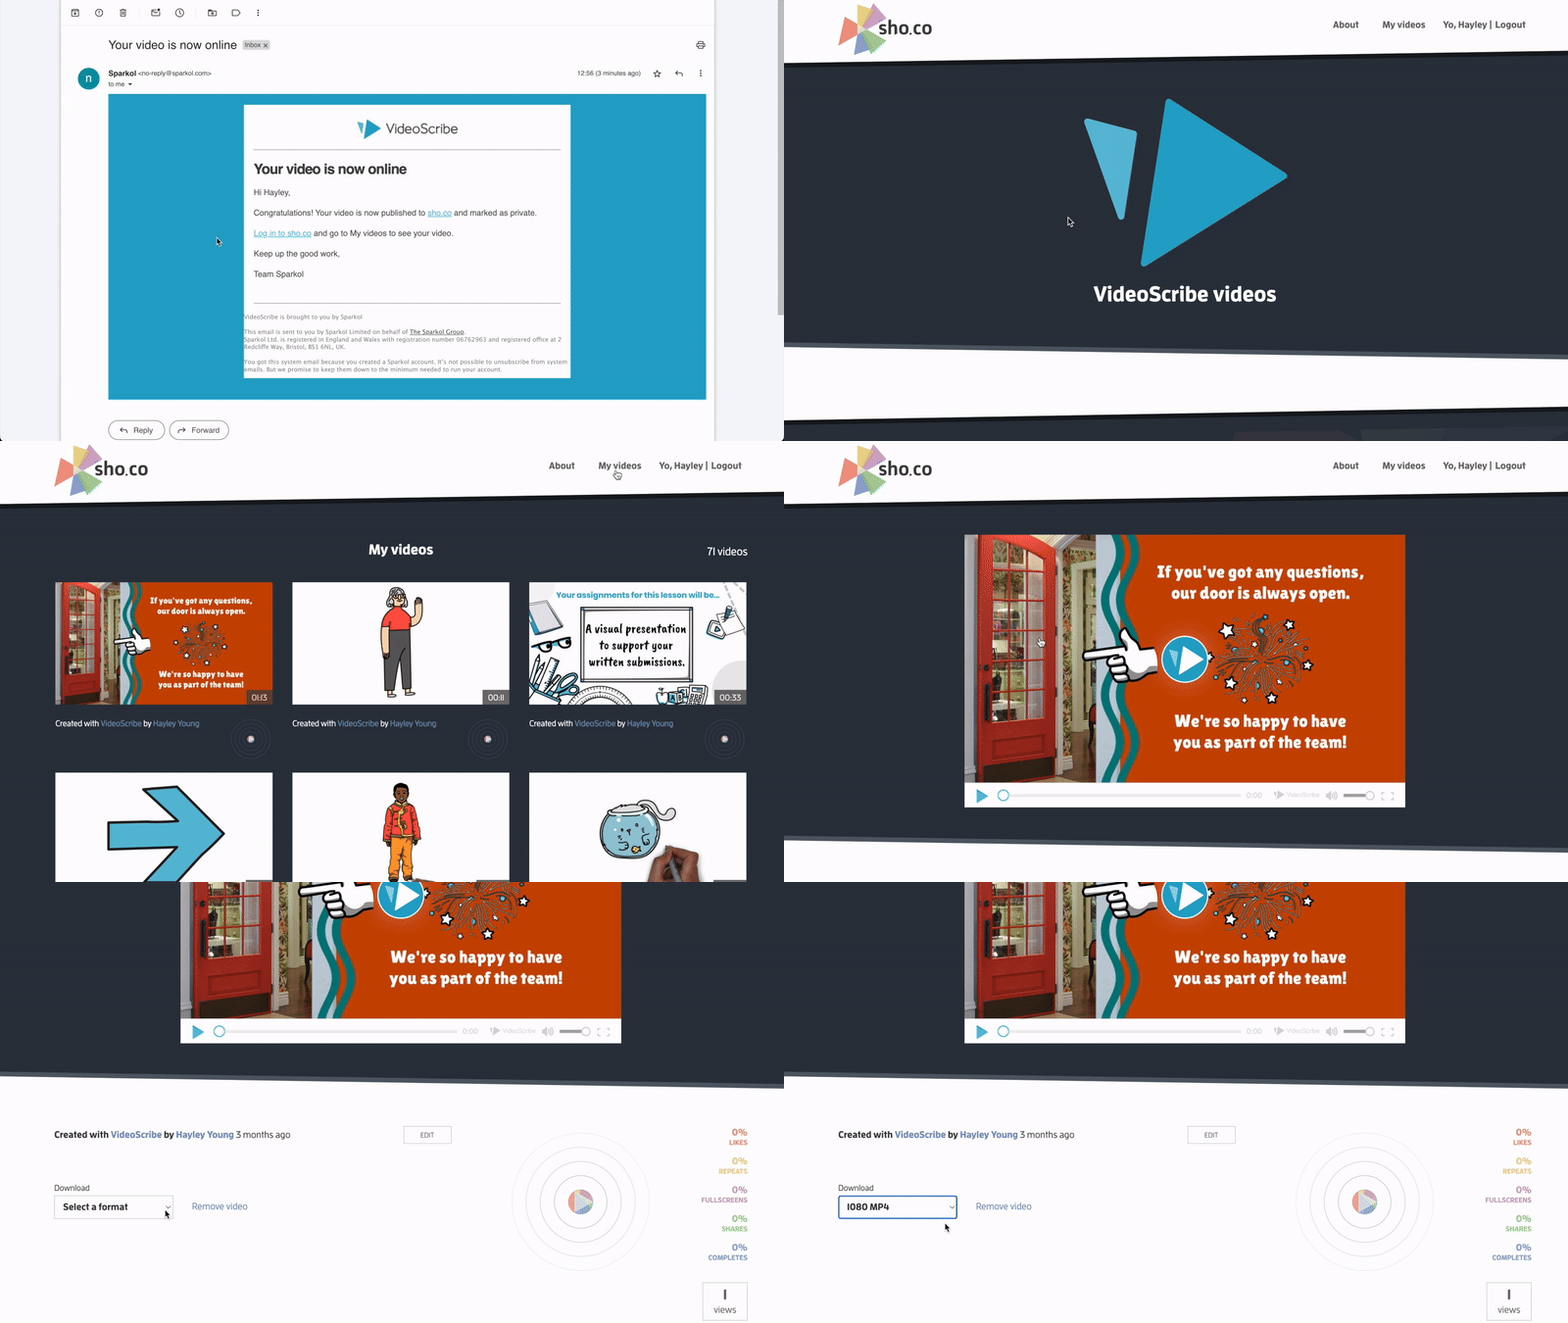
Select the second option to render to sho.co and click the tick to begin the render. You can use the link or the ‘See video online’ button to access your video.
Please note: You will also receive an email indicating the render has started, and a final email when your video has been published. You will need to wait until the final email before your video will be ready to view.
- When the video is ready, you can click the link in the email to access the video on sho.co. Ensure you’re logged into sho.co with your VideoScribe account.
- Underneath the video, there is a 'Download' option to download as an MP4. Find out more about this on our How to manage sho.co videos help page.

Publish to PowerPoint
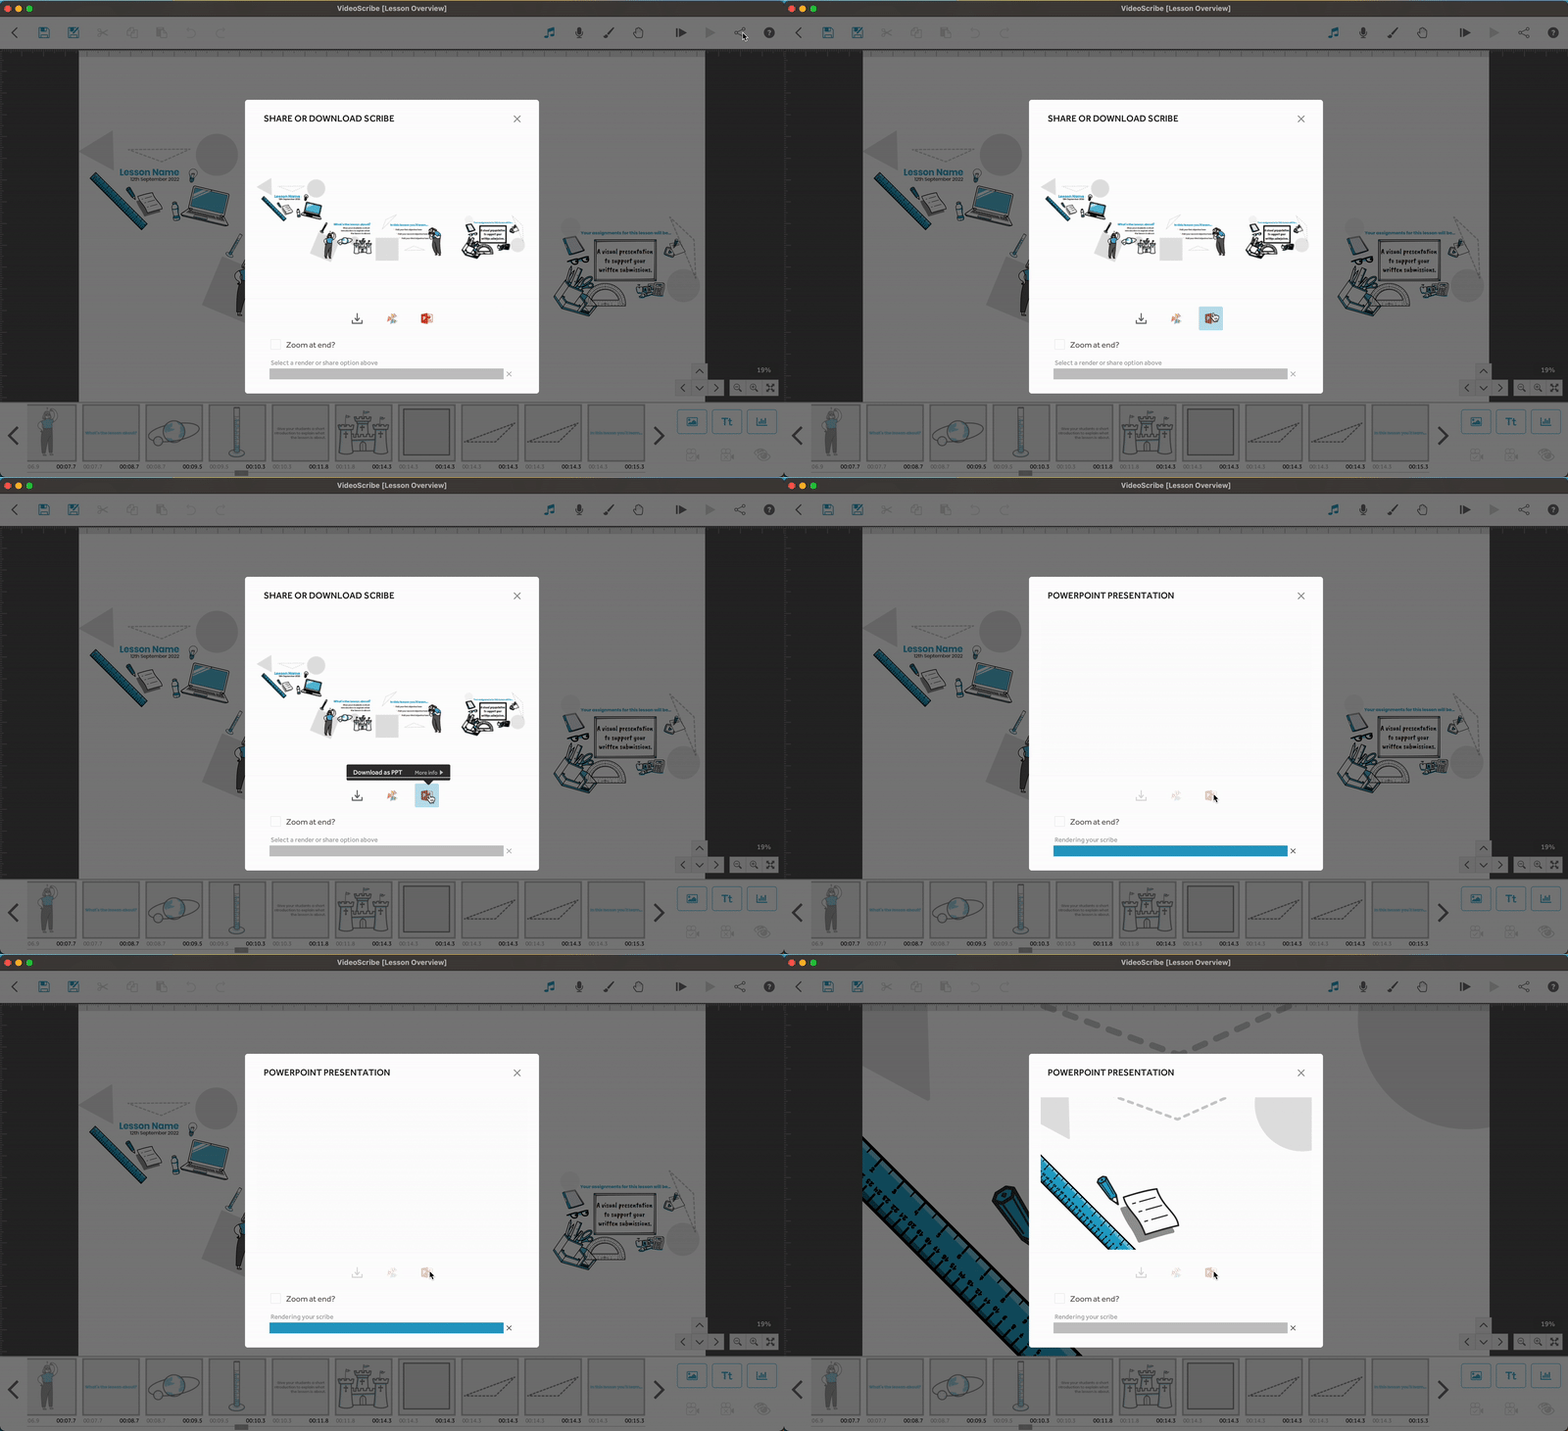
This will create a video file that is embedded into a PowerPoint presentation.
When the render is complete, a File Explorer window will open (Windows) or a Finder window (Mac) and you will need to choose the location to save your project. Select save, and the PowerPoint will automatically open with your video saved in the presentation.

Please note: A rendered video file won't contain any of your project data. If you wish to go back to your project and edit it in future, you will need to keep a copy of the project's ".scribe" file, or save it to your online folder.
