This article gives instructions on how to add a logo watermark to your rendered scribe videos. The logo watermark will appear continuously in the bottom right corner of your video.
VideoScribe has a feature that allows Pro users to add a logo or watermark to their videos. The option is available on the 'Share or Download Scribe' screen when you are ready to publish your video.
There are certain parameters and considerations when adding your logo
- This feature is available for the Pro desktop version only
- You can add the logo to videos you publish locally and using the PowerPoint (pptx)
- This feature is not available for videos sent to sho.co
- This feature will only accept PNG file types
- PNG files that do not contain a transparent background will not work properly
- The maximum height of the PNG file cannot exceed 1200px
- The maximum width of the PNG file cannot exceed 1200px
- The position of the logo is fixed and cannot be moved to another area of the canvas
- The logo image is not saved with the scribe file and will have to be added when you are ready to render
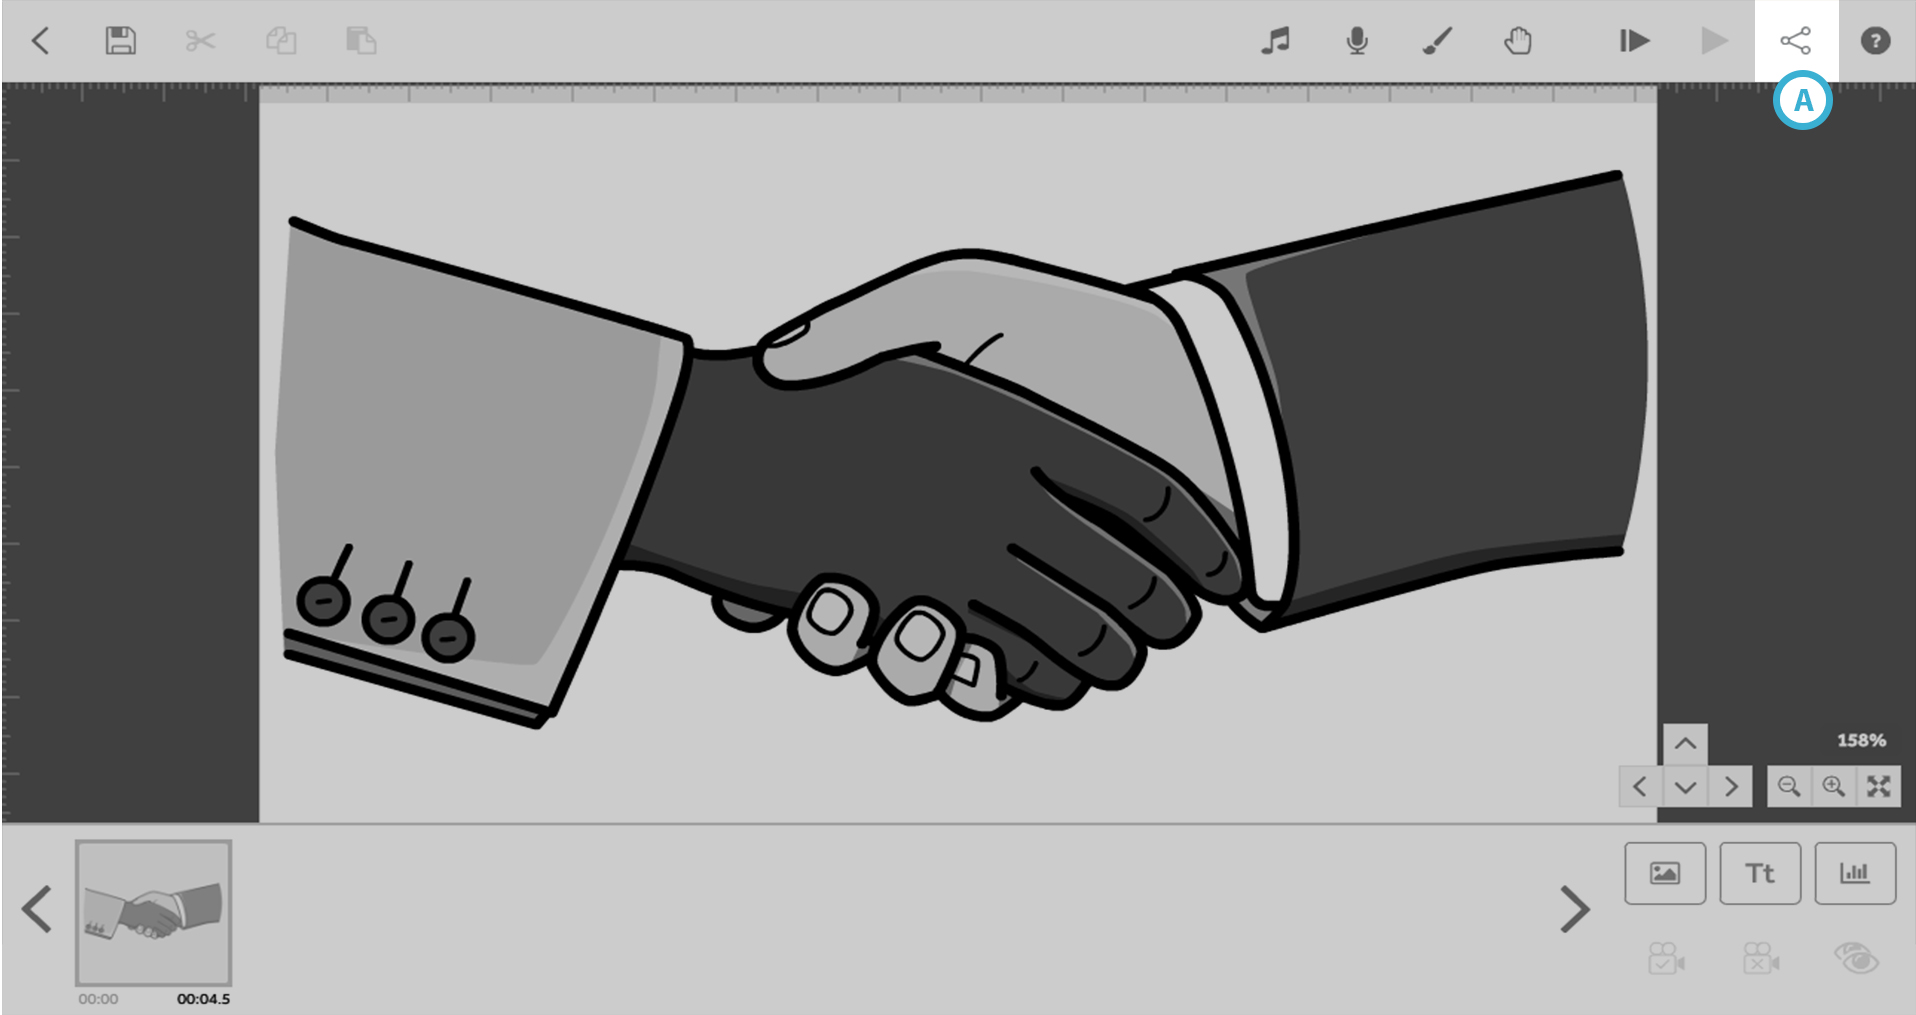
Step 1. Enter the ‘Share or Download Scribe’ screen
- When you are ready to create your scribe video, press the 'Download or Publish Scribe Video' button in the top right-hand corner (A).
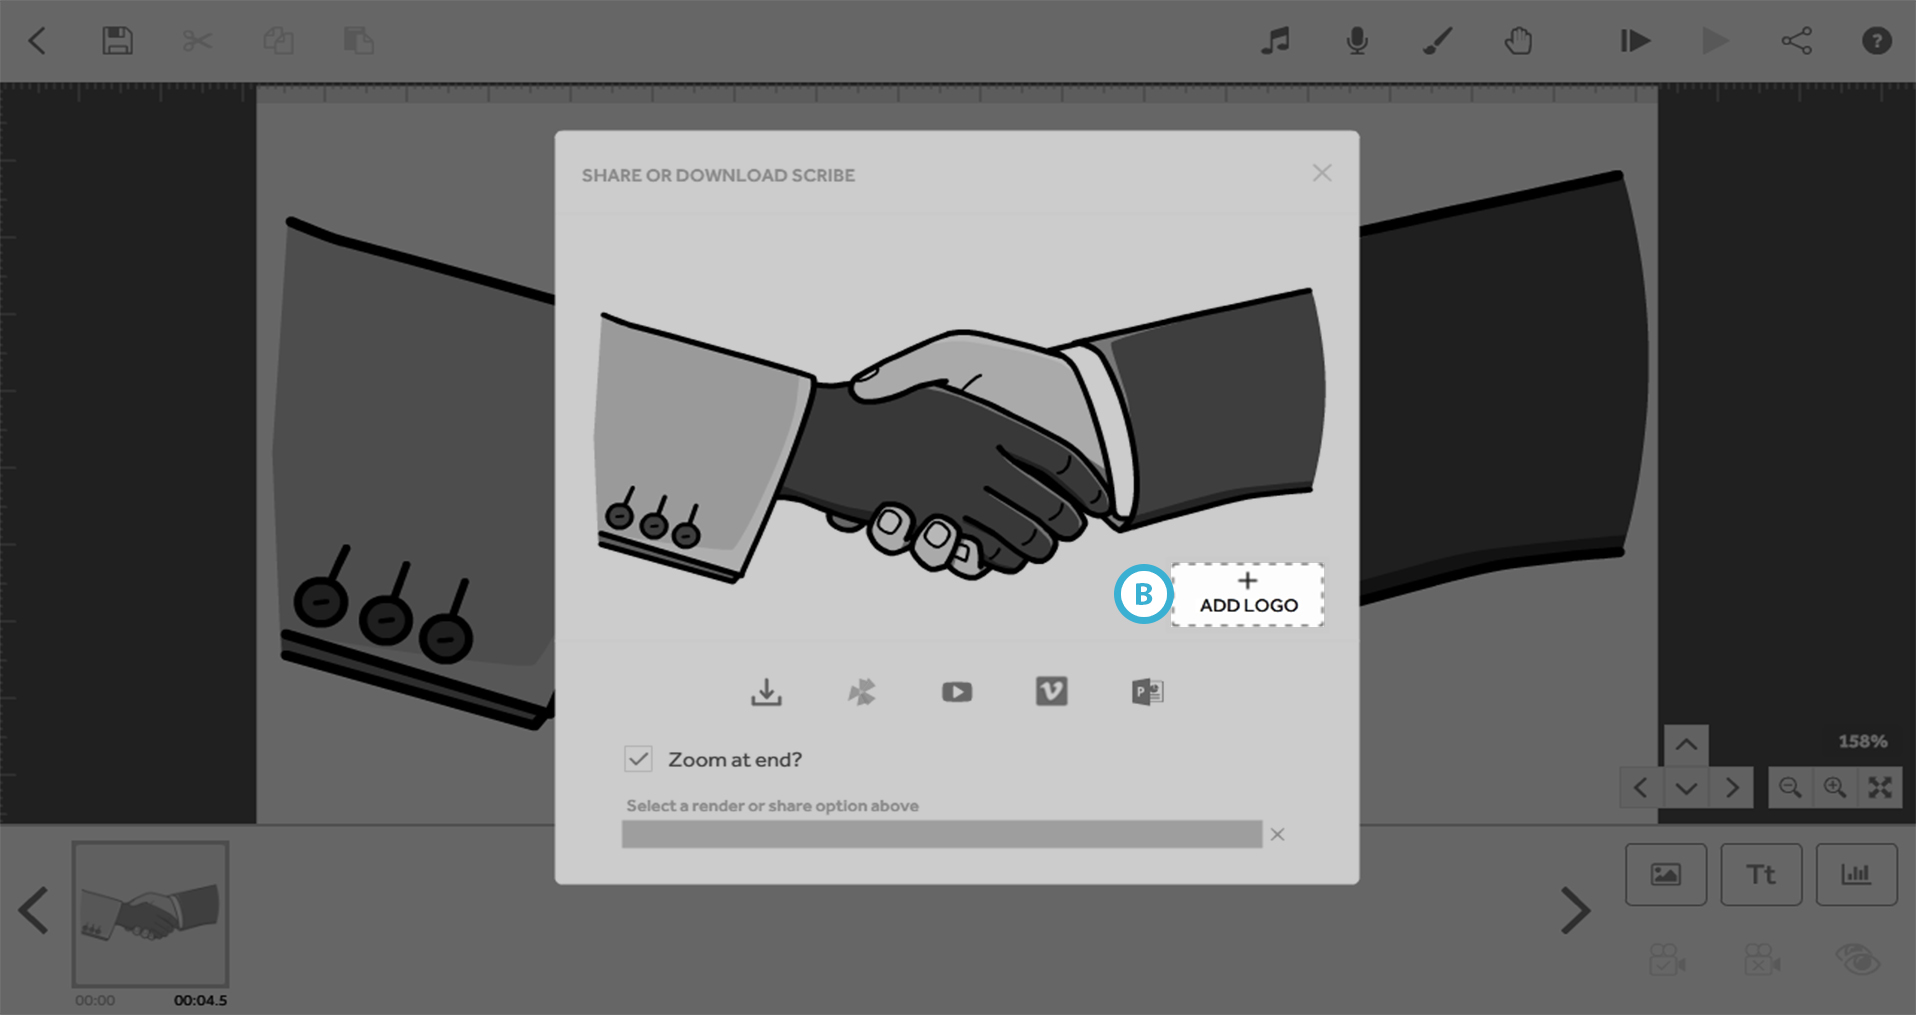
Step 2. Add your logo
- Now you are on the 'Share or Download Scribe' screen, press the 'Add logo' option on the preview panel (B) and select your PNG logo from your computer.
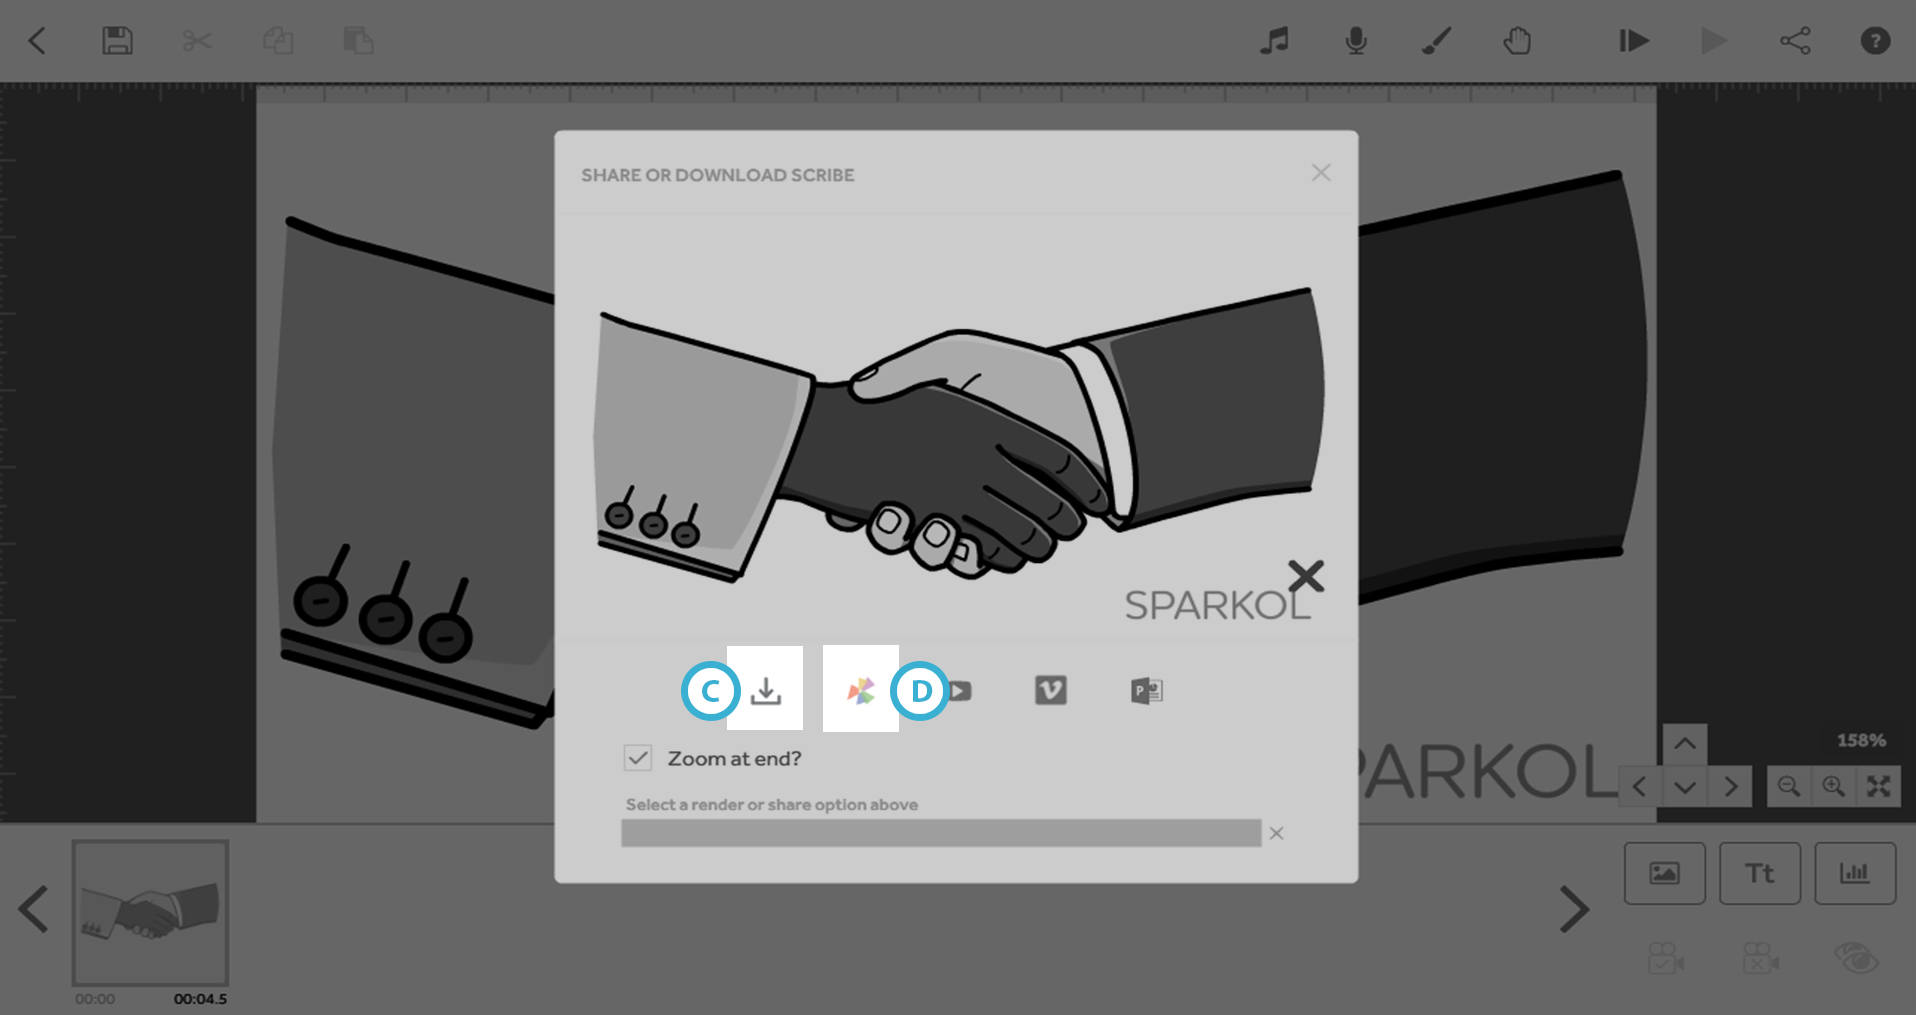
Step 3. Render your video
- Once you have added your logo, you can choose the render option you would like to use (C).
- Remember that the logo will not appear on scribe videos rendered on sho.co (D).
- Once the render has completed, your video will contain the logo throughout.