It is possible to change the color of some of the images in the VideoScribe library. This article will show you how...
Top tips: Check out our blog post on more helpful VideoScribe features like this.
Note: You will need VideoScribe version 3.3 (or later) to use the colour change feature. See the upgrade to the latest version of VideoScribe help article for instructions on how to upgrade.
There are two types of images in VideoScribe where you can change the colors...
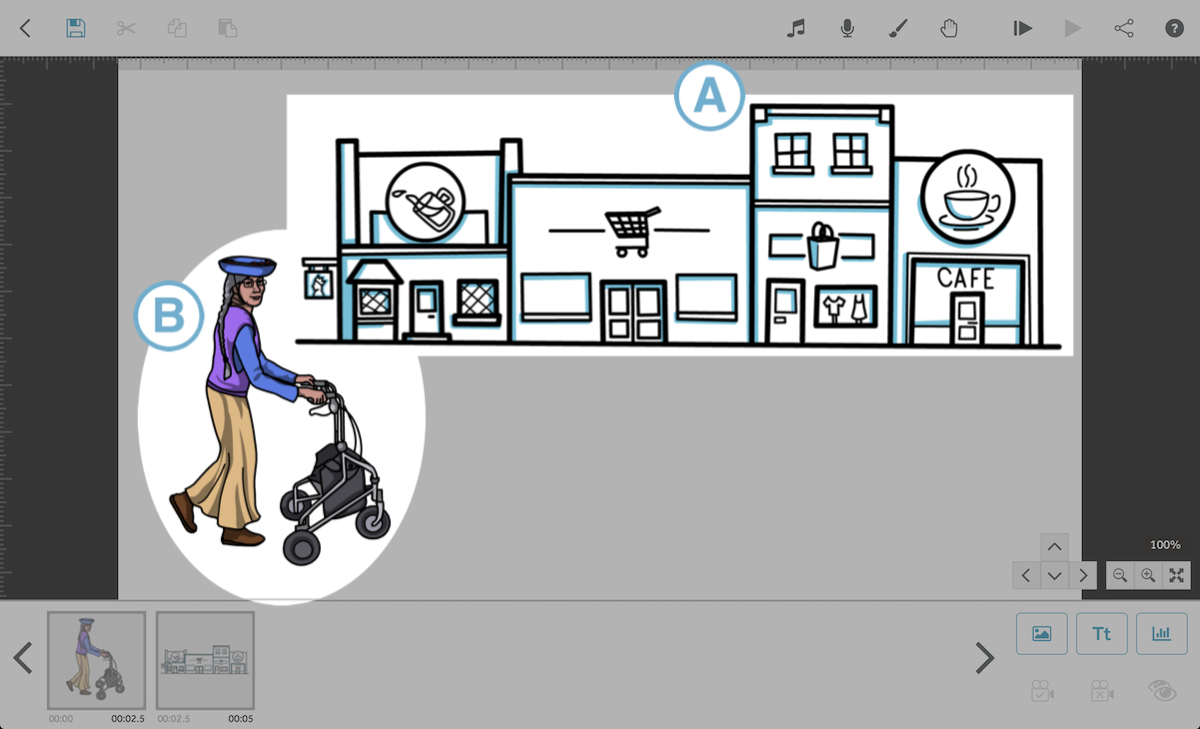
- "Highlight images" (A) where you change the highlight/accent color
- "Full color images" (B) where you can change up to four color.
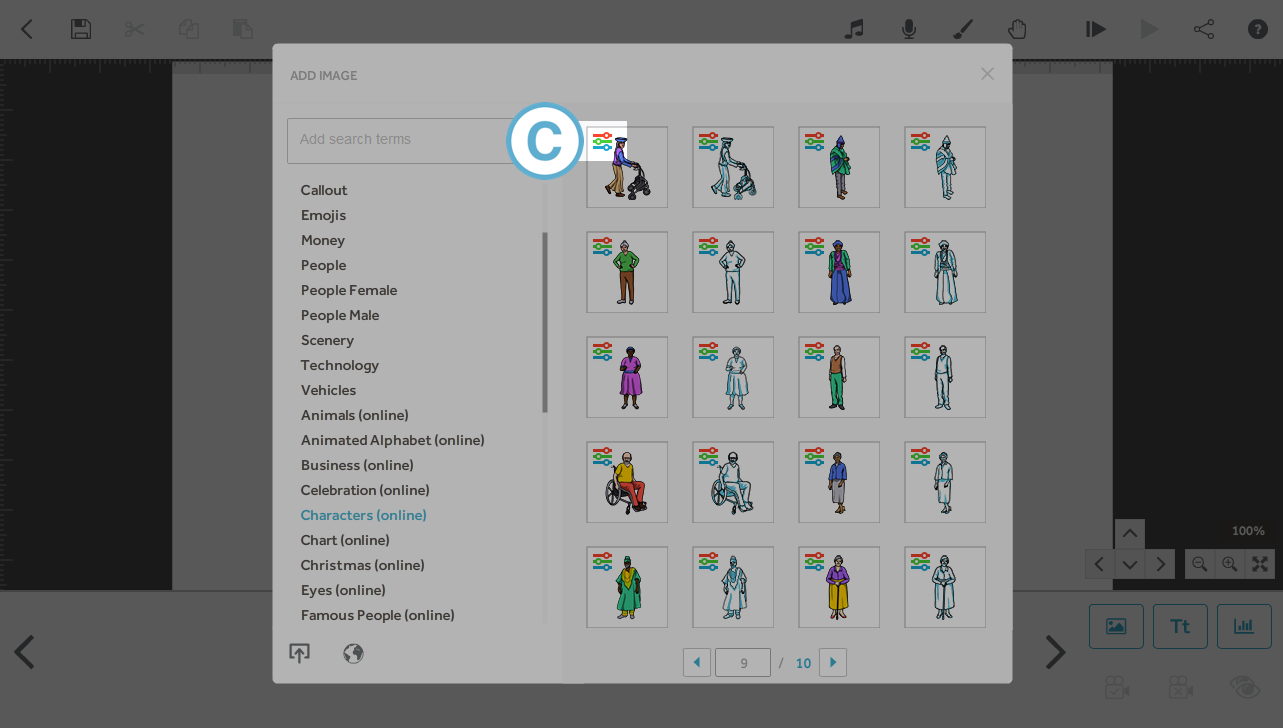
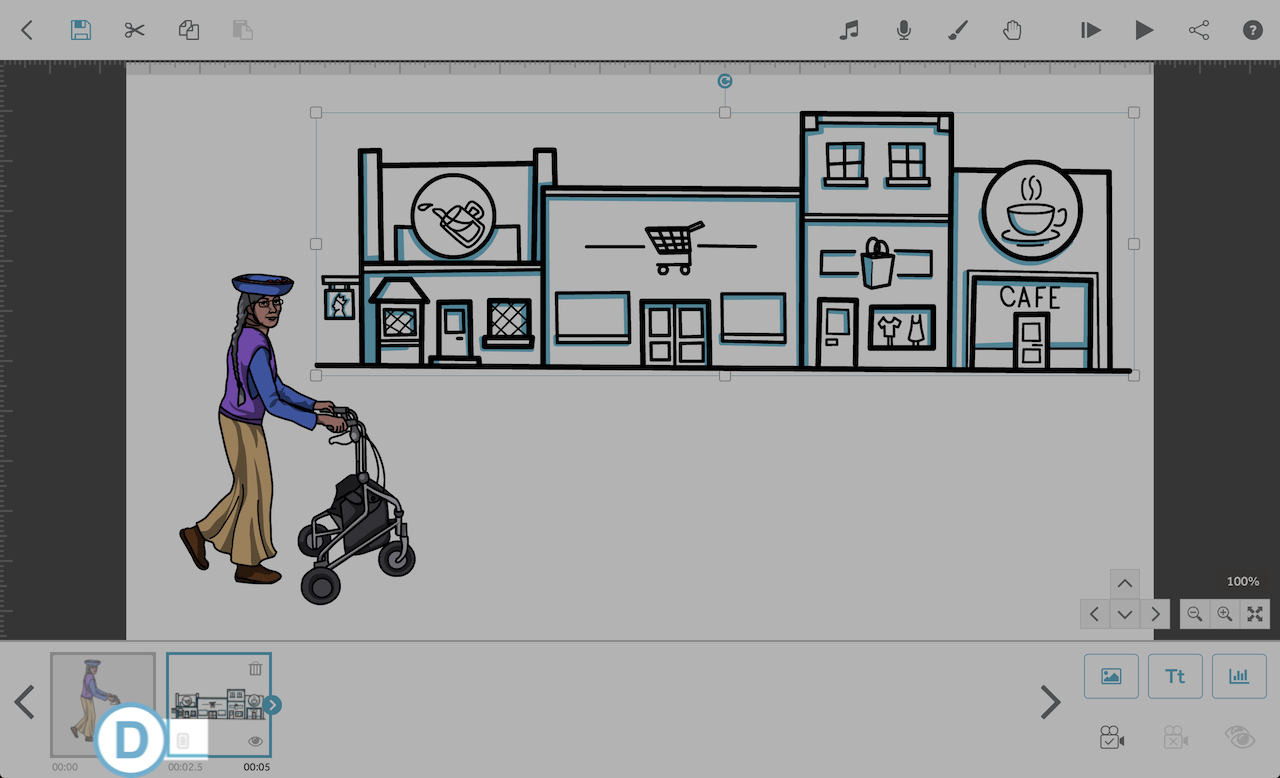
To change the color of an image, open the image properties by either double clicking the image timeline thumbnail, or by double clicking the image on the canvas, or by clicking the properties icon on the image thumbnail (D).
Highlight images are images with a black outline and a blue colored highlight
- When you open the properties of a highlight image that you can change the color of, you will see a single color change square (E) that you can click to bring up the color palette and change the color of the highlight.
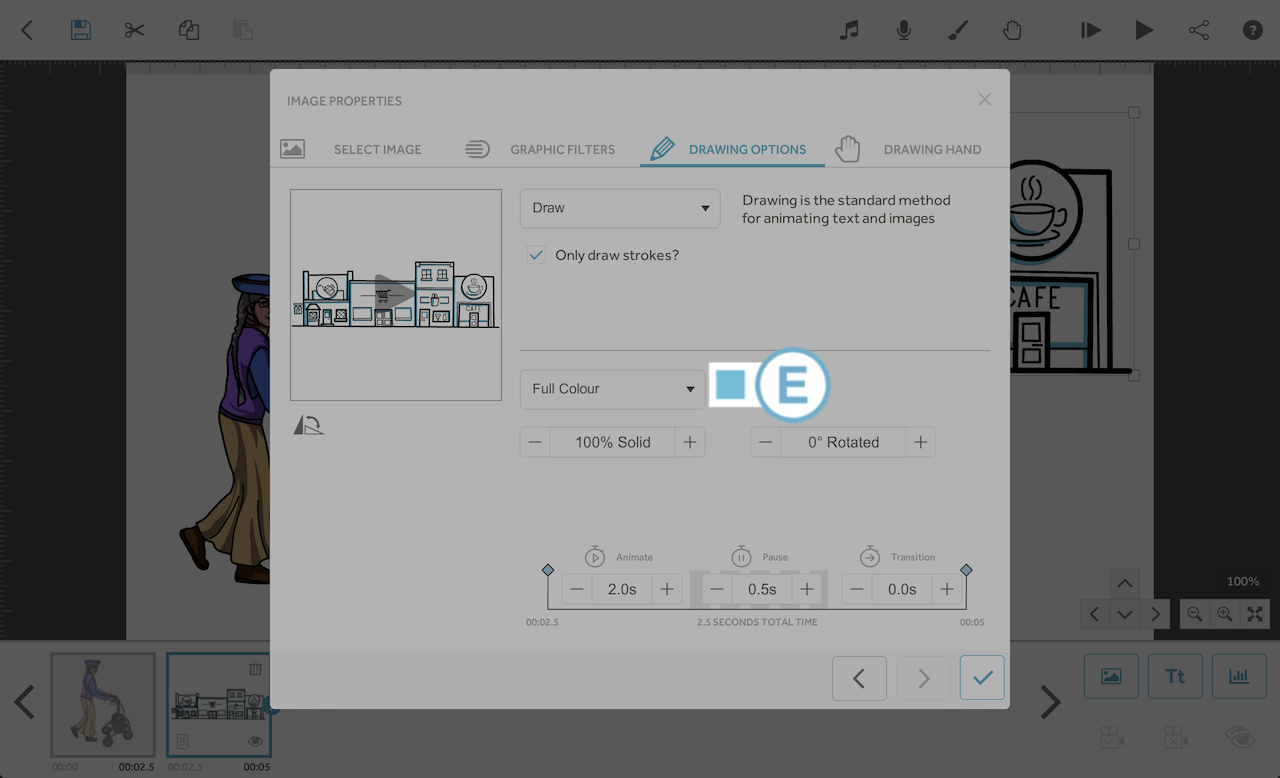
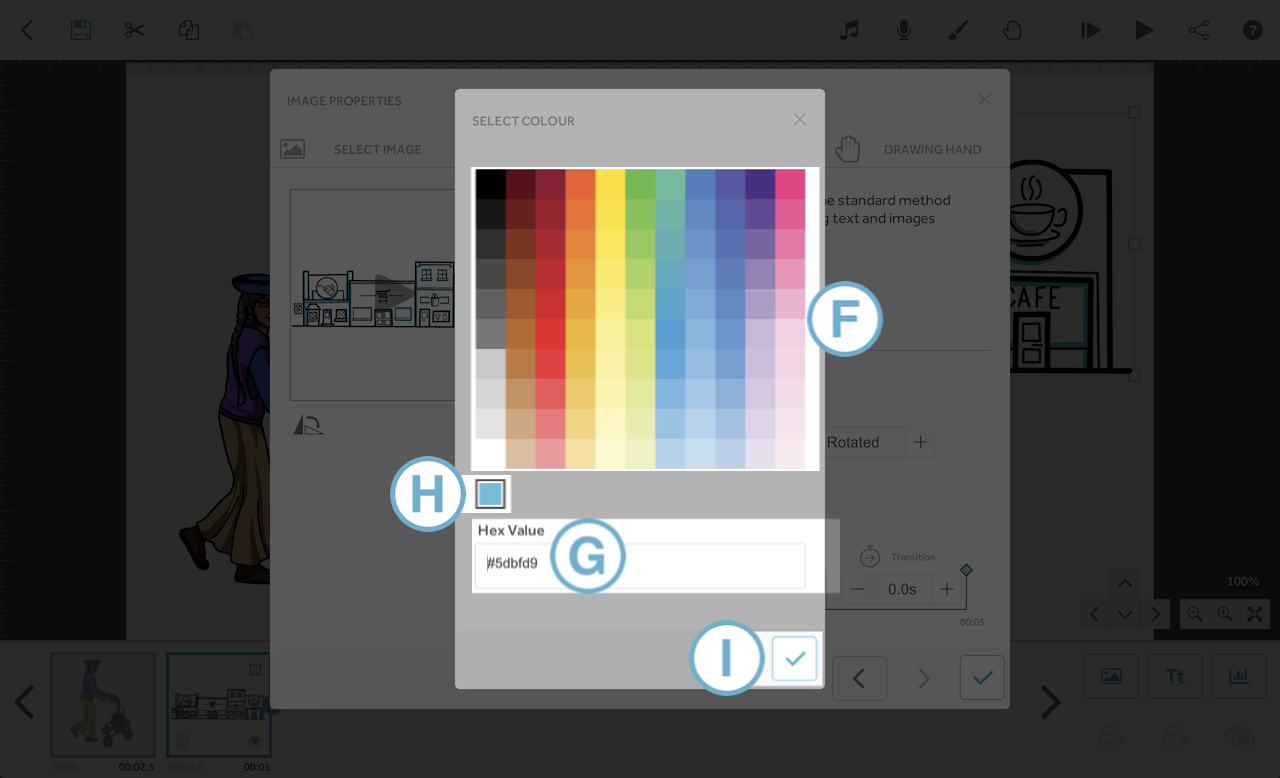
- With the color palette open, you can choose one of the colors from the grid (F) or you can enter a hexadecimal color code (G).
- The original 'default' color will always be available to return to under the palette (H).
- When you have chosen your color click the tick (I) to confirm and return to the image properties.
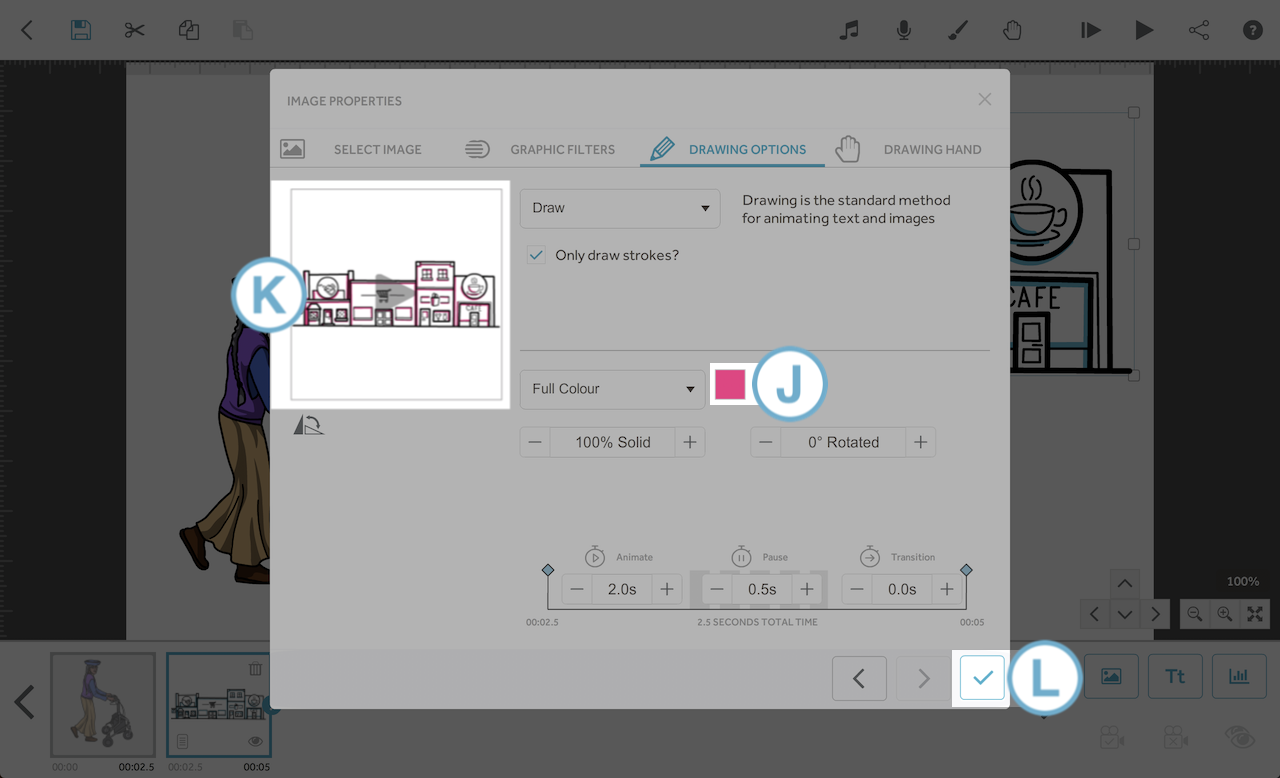
- The color square will update with the new color (J) and you can see the effects of the change in the image preview window (K).
- When you are happy, click the tick (L) to return to the canvas.
Color images are images with a black outline with color inside
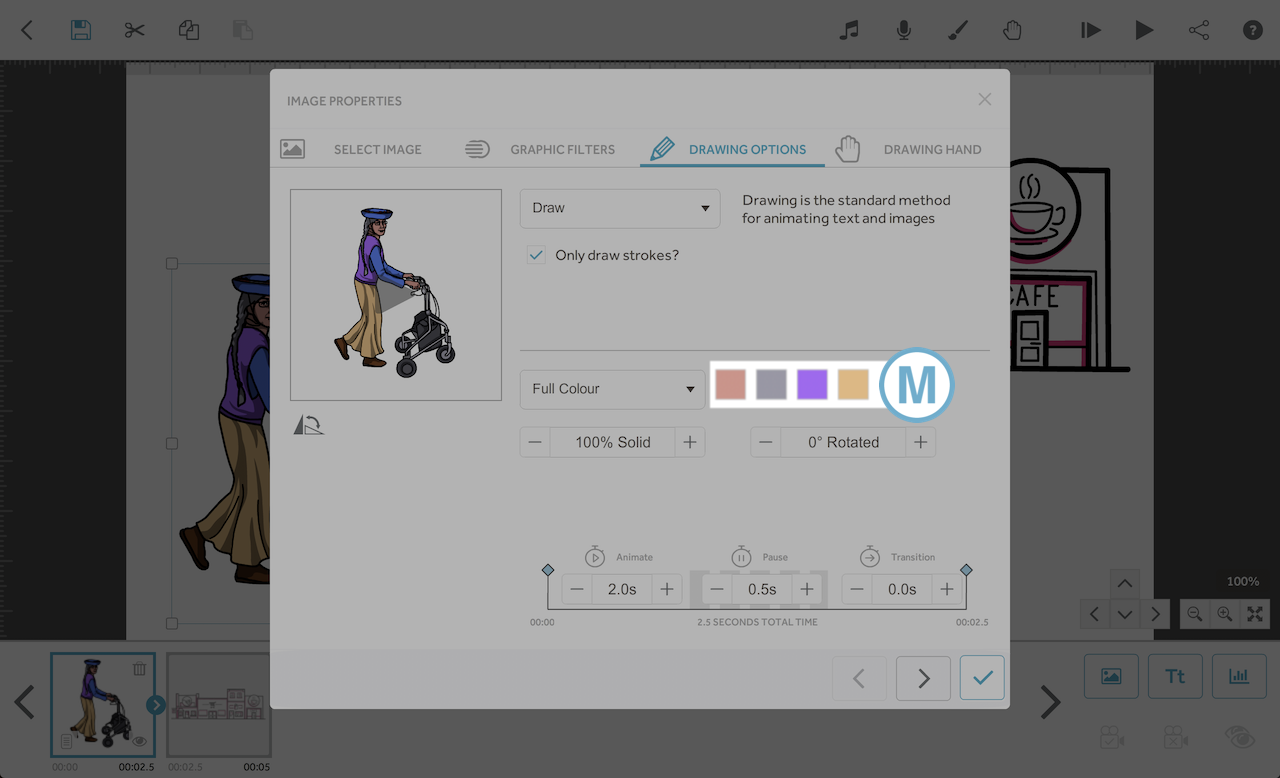
- When you open the properties of a color image that you can change the color of, you will see one, two, three or four color change squares (M). Hovering over the square will tell you which color layer can be changed (Skin tone, Hair, Primary, Secondary).
- Click on a color square to bring up the color palette and change the color.
- The number of colors that can be changed will depend on the number of colors in the image. You will not necessarily be able to change all the colors.
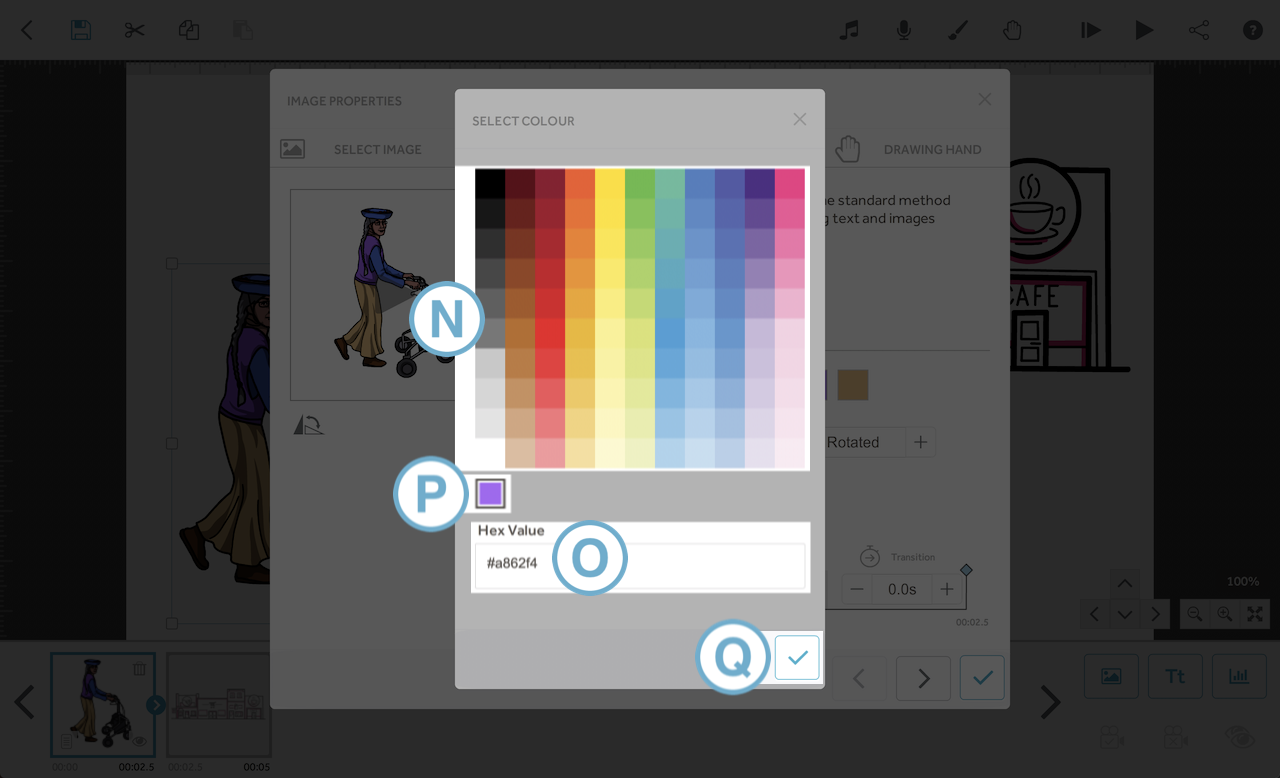
- When clicking on a primary, secondary or hair color square, the color palette will open. You can choose one of the colors from the grid (N) or you can enter a hexadecimal color code (O).
- The original 'default' color will always be available to return to under the palette (P).
- When you have chosen your color click the tick (Q) to confirm and return to the image properties.
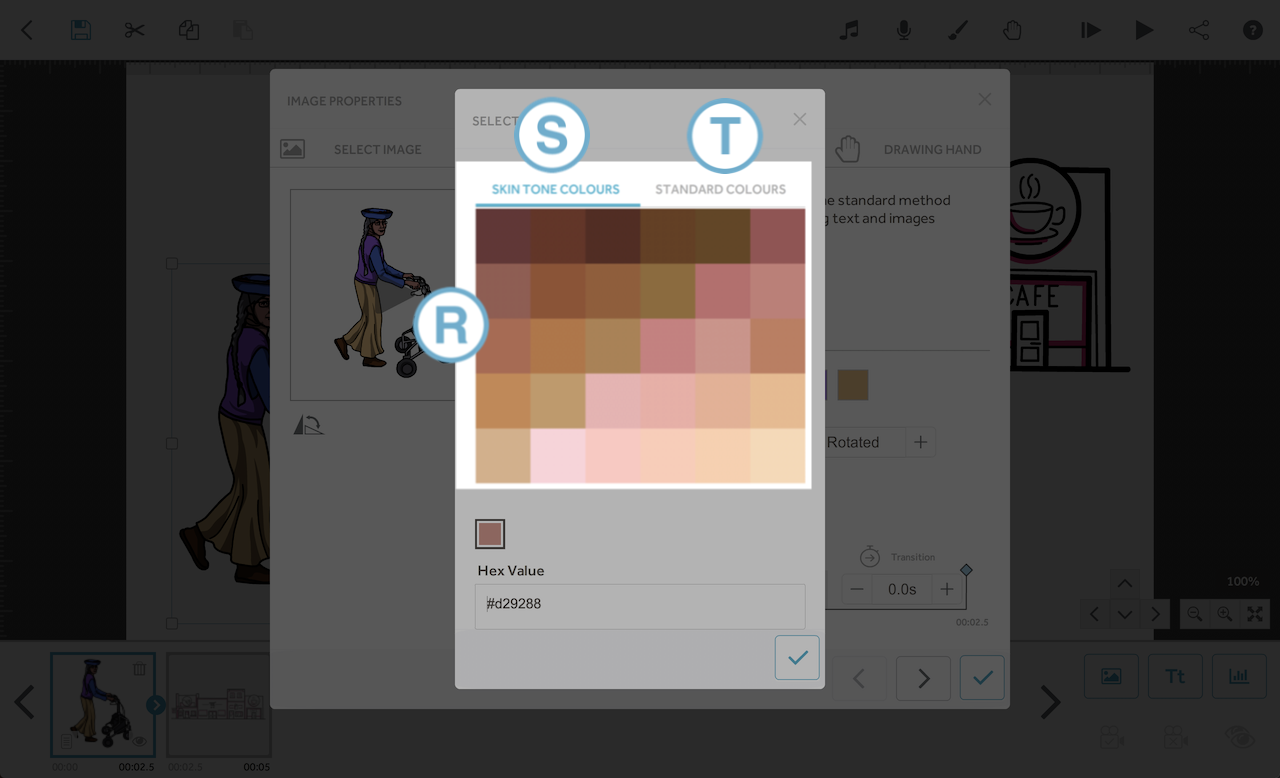
- Opening the color palette for skin tone, you will see a palette like this (R). You can switch between the skin tone colors (S) and the standard colors (T) by clicking on the tabs.
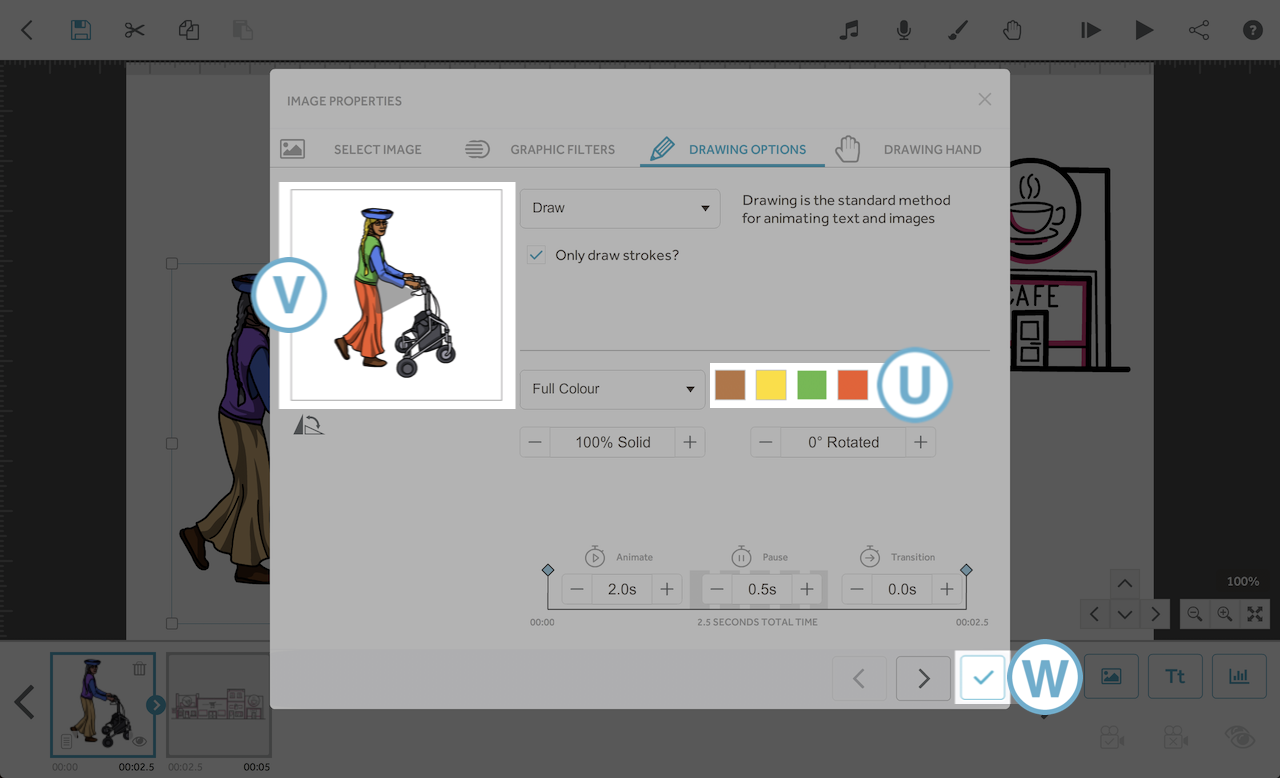
- The color square will update with the new color (U) and you can see the effects of the change in the image preview window (V).
- Repeat this if you would like to change any other colors in the image.
- When you are happy, click the tick (W) to return to the canvas.
Top tips:
- There are four areas of an image that can potentially be changed: Primary, Secondary, and (for images of people) Hair and Skin tone.
- Where an image contains more than one person the skin and hair tone will only be changeable on one person in the image.
- Where the person is a real-life representation of someone you will not be able to update the hair and skin tone. For example those in the famous people folder.
- Want to go back to the original color? No problem, that will always be displayed as an option under the palette when you load that screen.
- Colors of naturally occurring things like the sky, grass, etc will not be changeable in VideoScribe.
