Top tip: Watch our Using animations in VideoScribe tutorial
There are three different stages of animation that can be applied to each of your elements. These will occur in the following order:
You can also add a pause before the next element starts.
Top tip: Entrance animations are used for most elements. Emphasis and Exit animations are optional and allow you to add more movement to your element
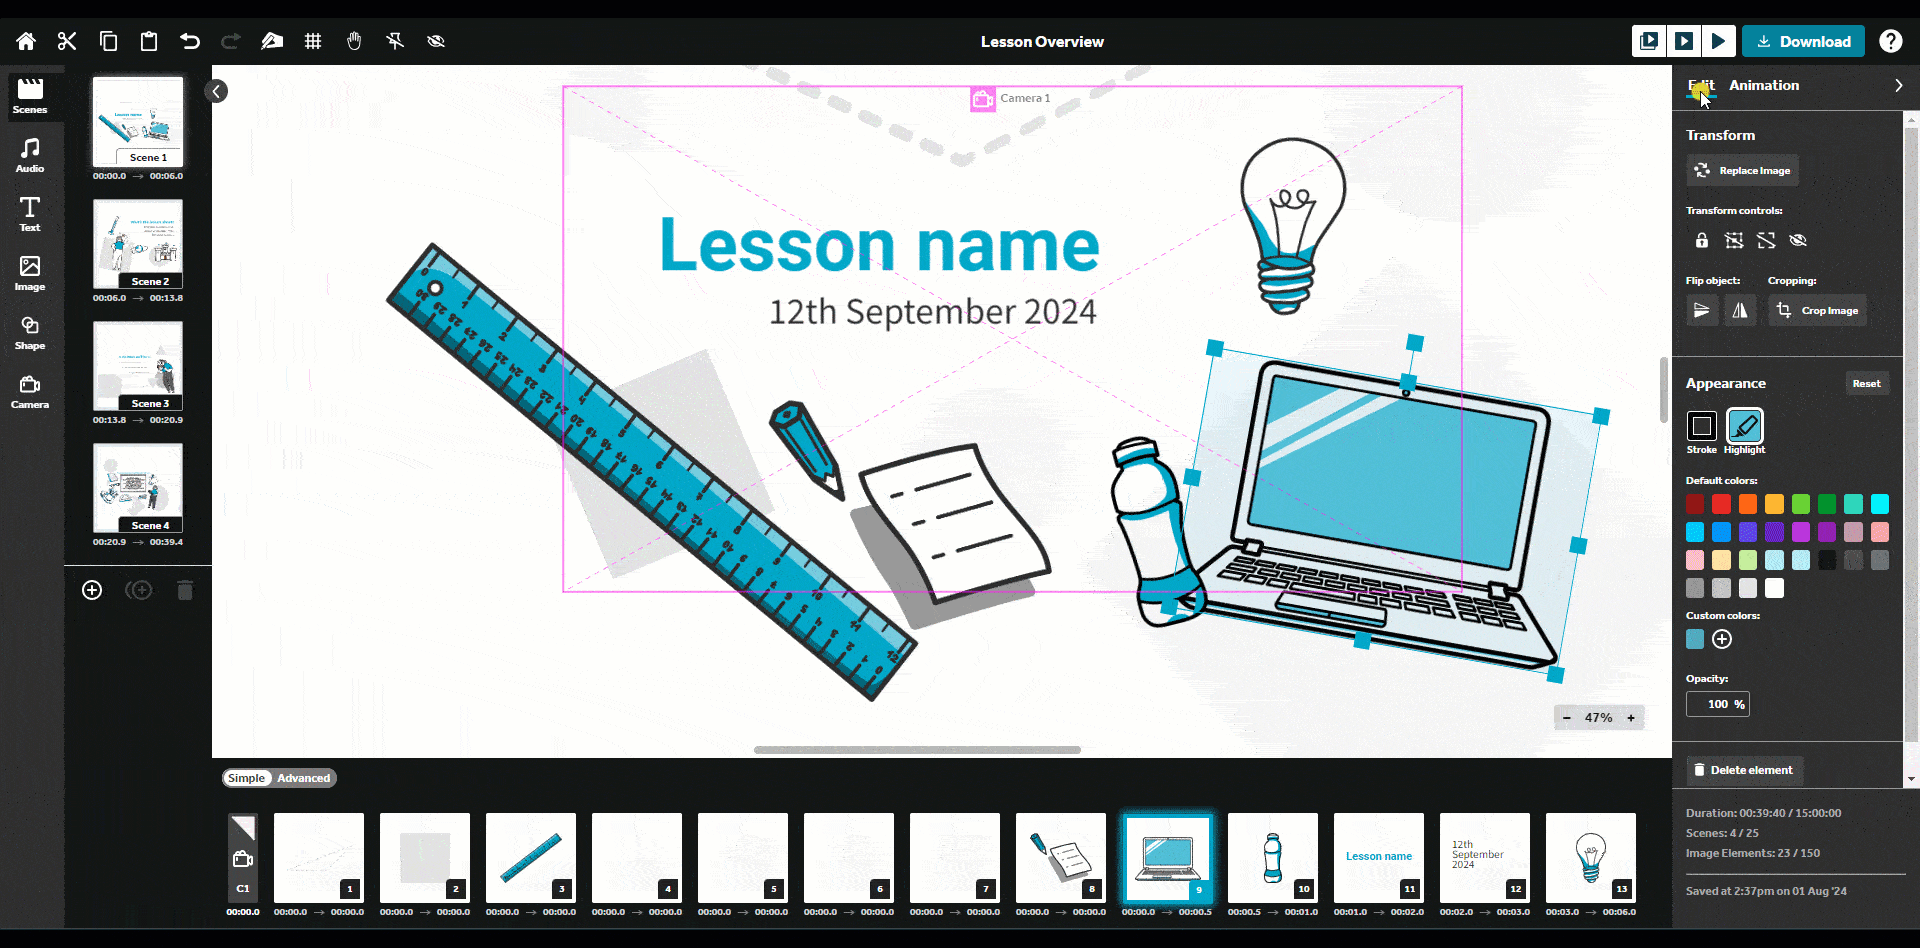
- Select the element you wish to animate on the canvas or timeline and then click on the ‘Animation’ tab in the right-hand panel to display the animation options
Entrance animation
Set how you want your elements to animate as they are added to the canvas. You can also set the duration for this animation.
For more details see our Entrance animations article.
Top tip: The default animate option is ‘Hand draw’ ![]() for entrance animations.
for entrance animations.
Emphasis animation
Set how you want your elements to continue to animate once they are on the canvas. Emphasis animations are optional. You can also set the 'Duration' for this animation and the number of 'Loops' (the number of times it will repeat the animation).
For more details see our Emphasis animations article.
Exit animation
Set how you want your elements to animate when they exit the canvas. Exit animations are optional. You can set the 'Duration' for this animation.
For more details see our Exit animations article.
Top tip: To discover exciting new ways to use Emphasis and Exit animations check out our Using Emphasis and Exit Animations blog post.
Pause before next animation
You can also add a 'Pause before next element'. This pause will always happen after all the current element’s animations end and before the next element's animation starts.
Top tip: Use ‘Preview from current element’ ![]() to preview what your applied animations look like in action.
to preview what your applied animations look like in action.