If you have separate VideoScribe Legacy projects you'd like to combine, you can achieve this. Let's take a look at how...
Please note: VideoScribe Legacy is the older version of our software. We continue to support it, but we recommend switching to the latest version to enjoy the best features and performance.
Click here to read the article on Accessing the latest version of VideoScribe.
Note: This method will only merge the elements from the timeline. Settings such as the voiceover, soundtrack and canvas texture/colour will not be moved. Your merged scribe will retain the settings of the second project.
Top tip: If you would prefer not to merge your projects in VideoScribe you could publish both of your projects and then use video editing software to combine them.
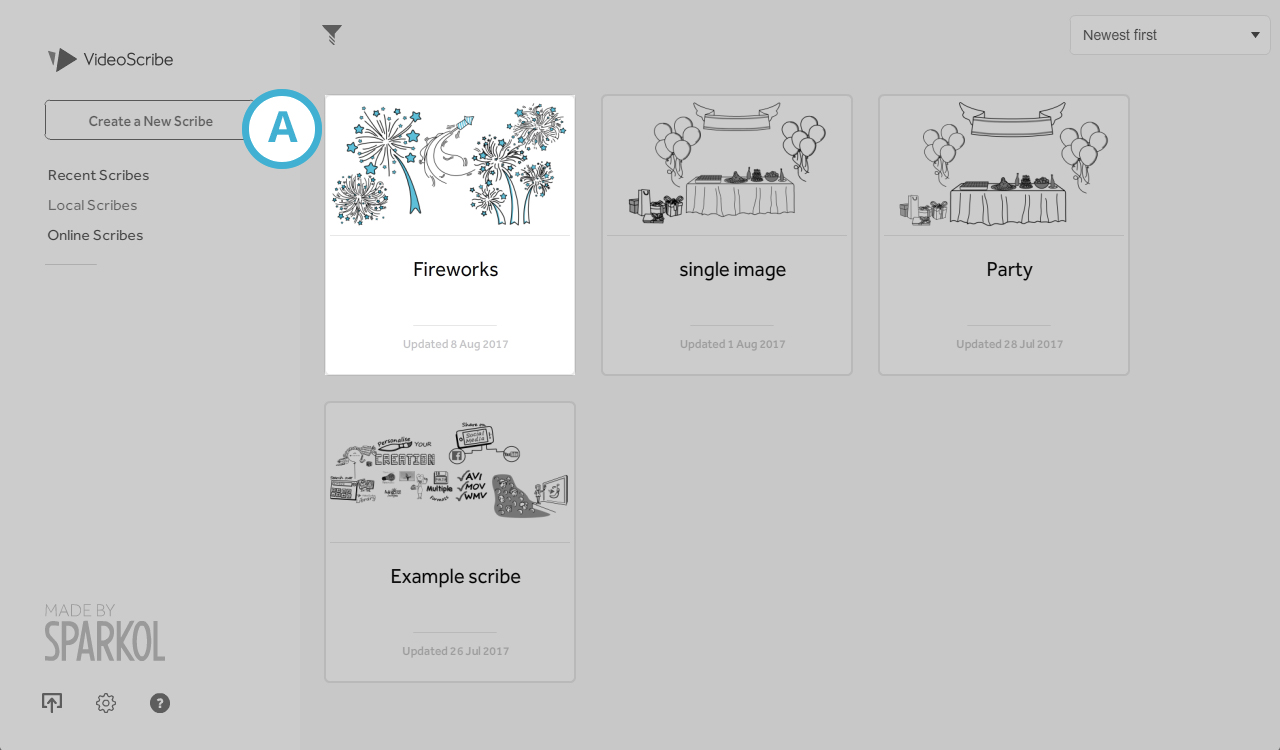
Step 1. Select the first project you would like to merge from the project screen (A)
- On clicking, the scribe it will open immediately on the canvas.
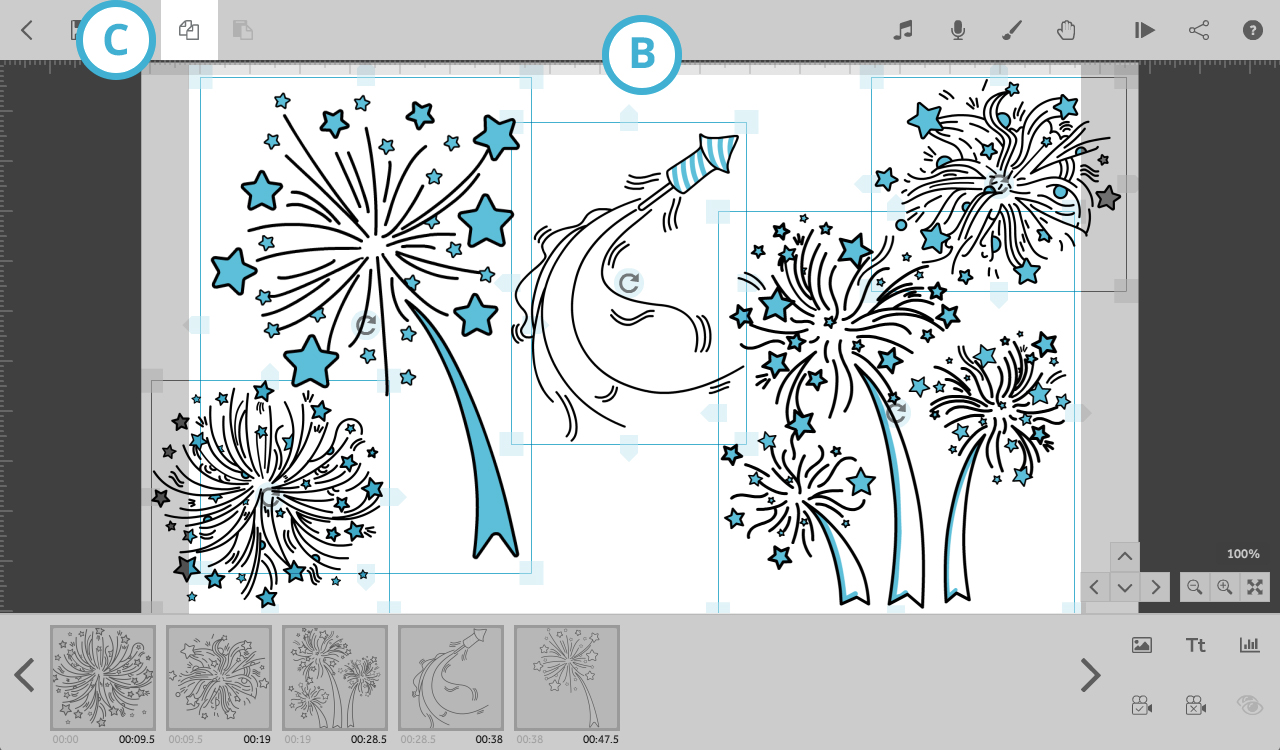
Step 2. Select all the items in your project (B)
- To do this use Ctrl+A on a Windows PC or Command+A on a Mac.
- Now they are all highlighted click the copy button (C).
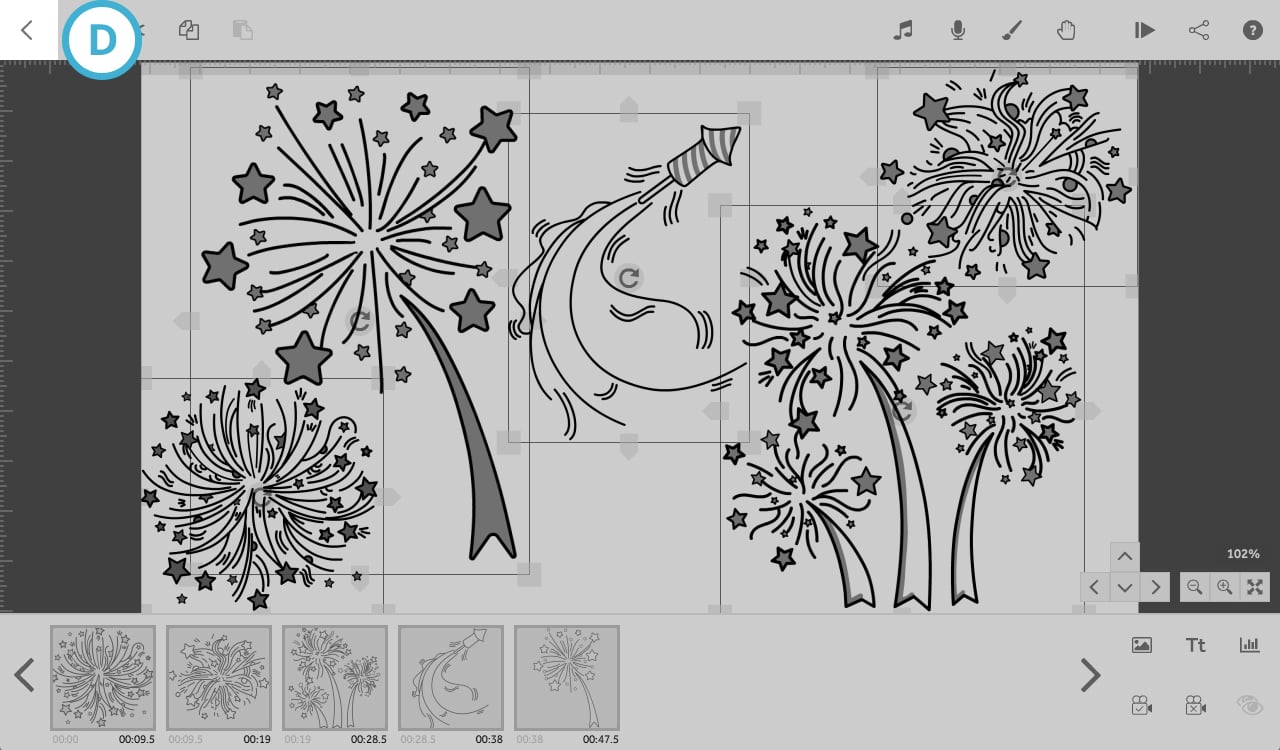
Step 3. Exit your scribe using the back arrow (D)
- You will be asked if you want to save the changes you have made and you can click 'Save and Close' to save (E) or click 'Close Without Saving' (F) if you do not want to save.
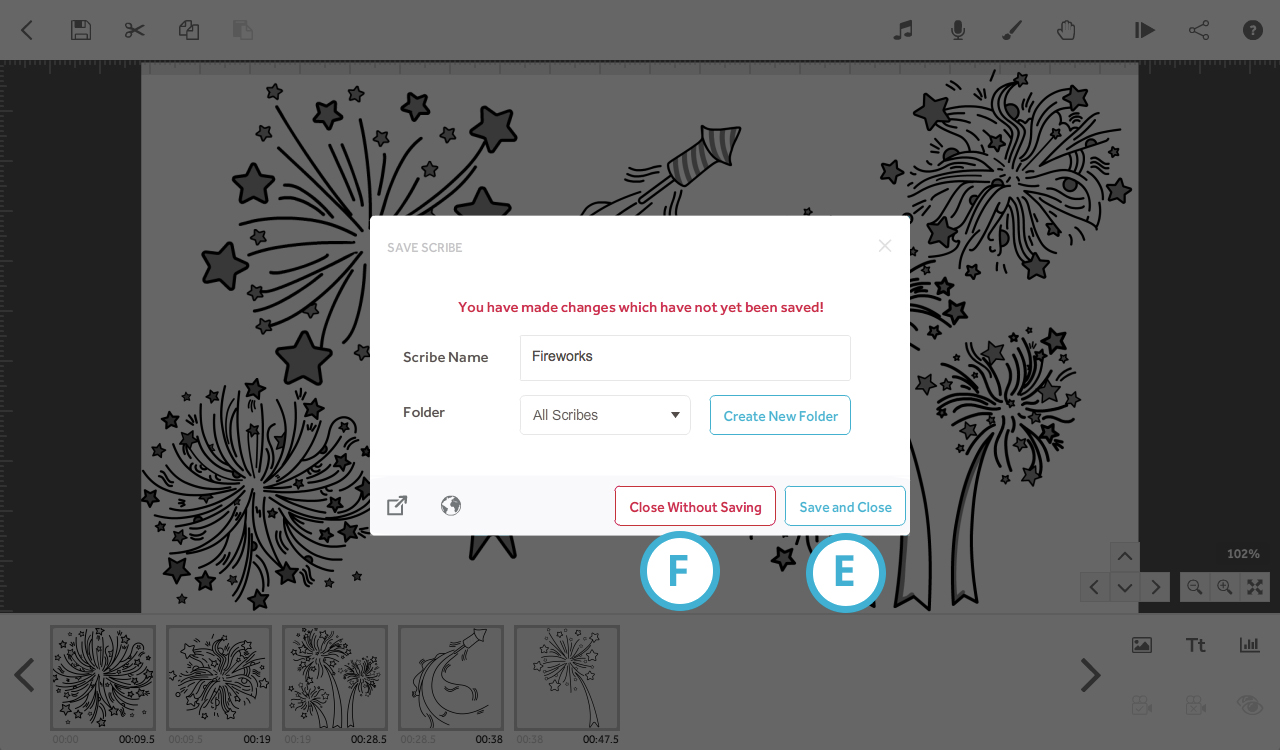
Step 4. Select the second project
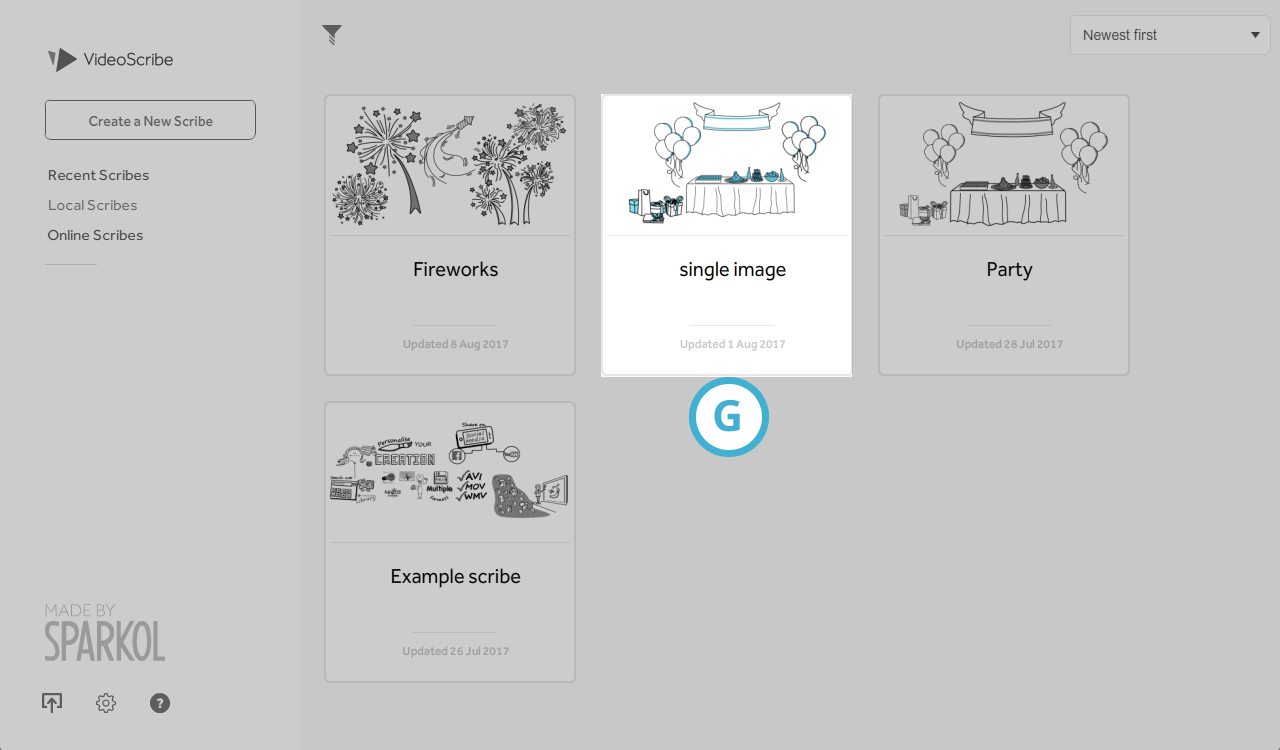
- Back on the project screen select the second project you would like to merge (G).
- On clicking, the scribe it will open immediately on the canvas.
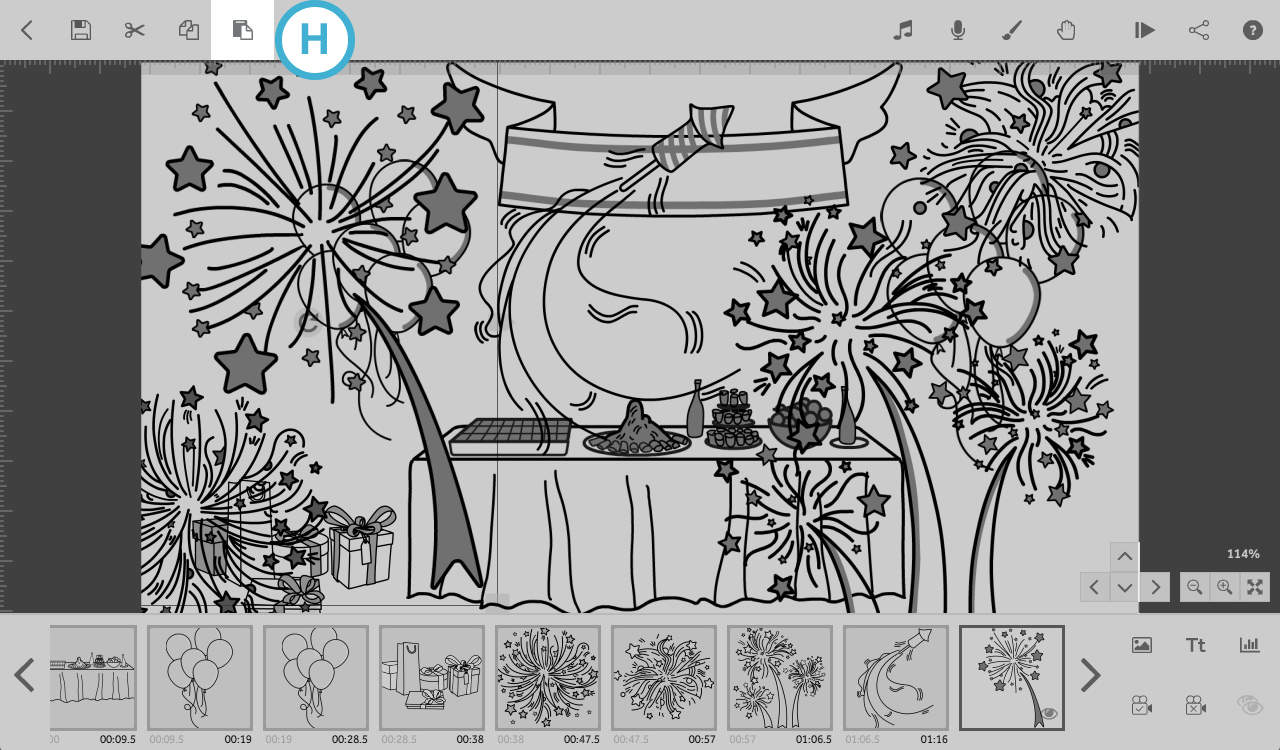
Step 5. Select the last element and paste your copied images from the first project into the second project (H)
- It is likely that your images will be pasted over the top of each other… don’t worry step 6 will show you how to fix this.
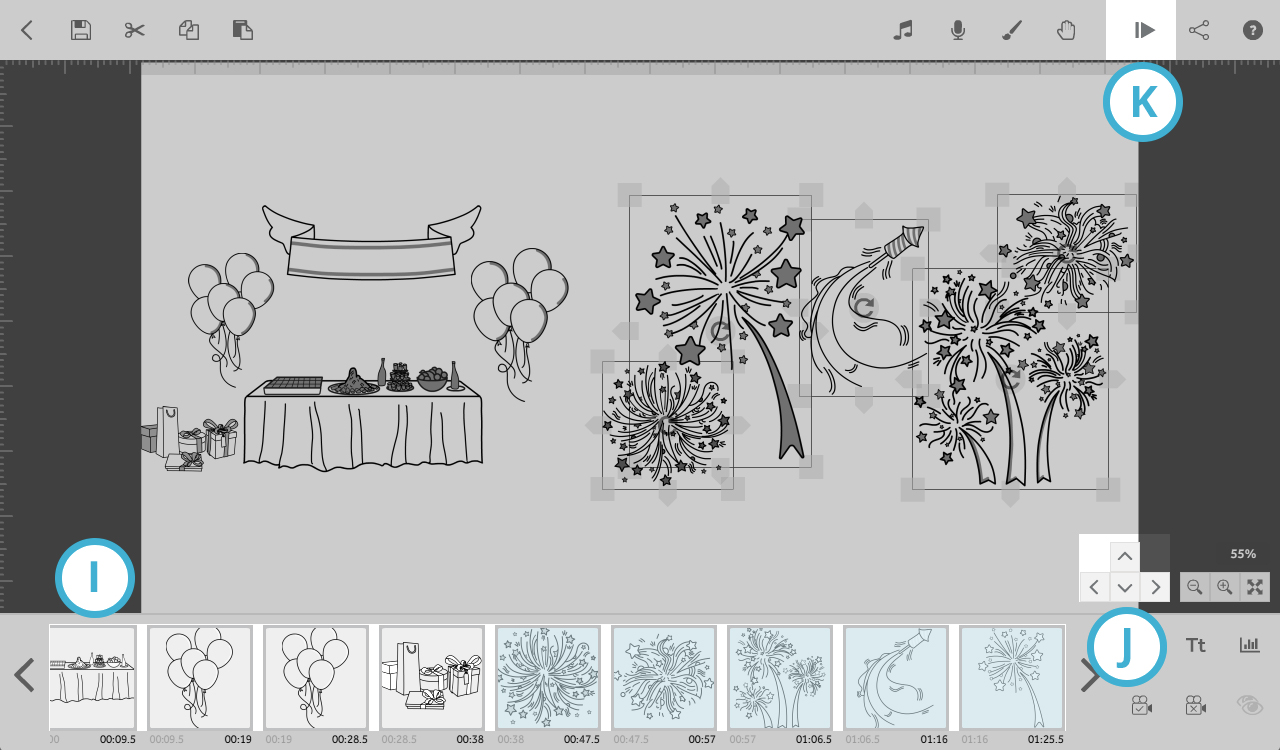
Step 6. Select the elements you have just pasted
- Hold down Ctrl (Windows PC) or Command (Mac) and click on the images in the timeline (I).
- Once they are all selected you can drag them to an empty area of the canvas using the mouse, the arrow icons (J) or the arrow keys on your computer keyboard. If using your keyboard arrow keys to move the elements, holding shift and an arrow key will make them move more quickly.
- At this point we would recommend that you preview your scribe (K) as you have moved items around the canvas and you may need to reset your camera positions.
- You will also notice that the pasted elements are all set to 'Draw'. If any of the elements were originally set to 'Move-in', 'Fade-in' or 'Morph' you will need to change those back.
Step 7. Once you are happy with the placement of your merged images and camera positions you can save your work
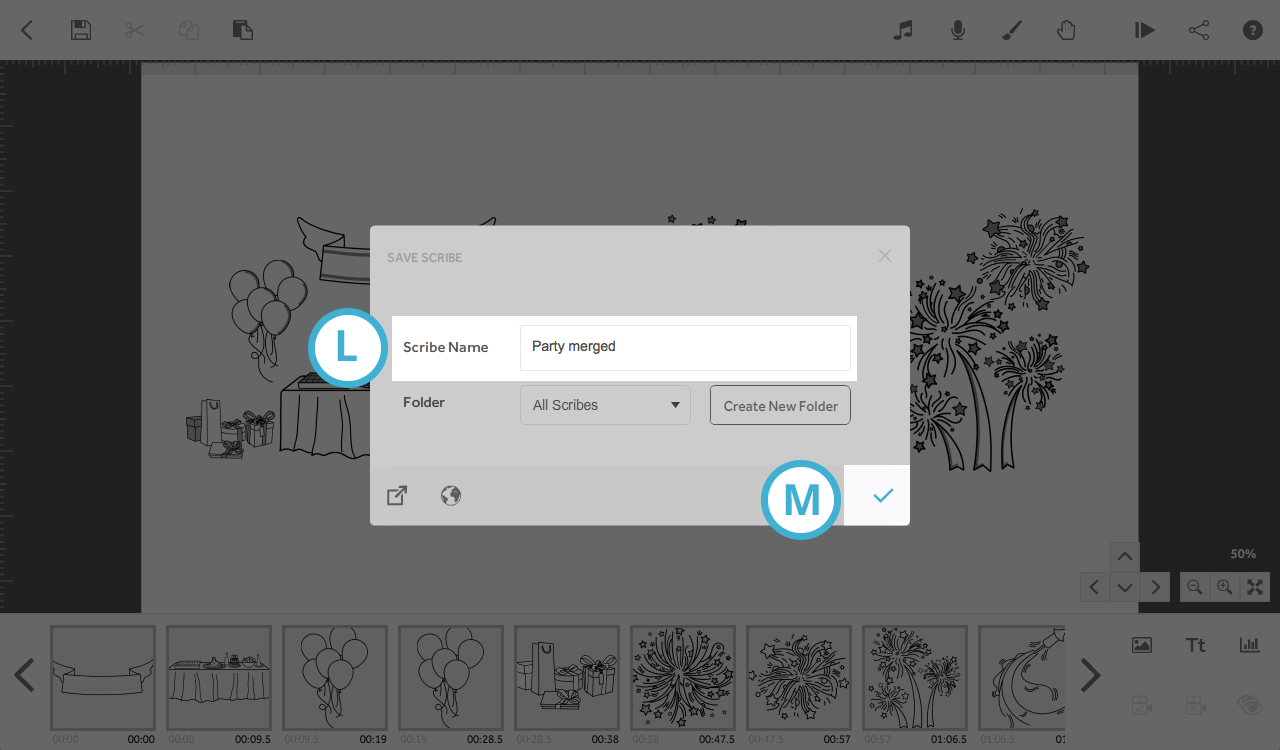
- If you want to save this as a new project just simply change the scribe name (L) before clicking the tick (M) to complete the save.
