Please note: VideoScribe Legacy is the older version of our software. We continue to support it, but we recommend switching to the latest version to enjoy the best features and performance.
If you are using the latest version of VideoScribe click here to read the article on Entrance animations (latest version).
The default animate option for text and images is Draw but you can also change the animate option to Move In. This will mean that your image or text element will either be moved onto the canvas with a hand or ‘float’ onto the canvas if ‘No-hand’ is selected. The Move-in option is not available for animated GIF images.
Top tip: Check out our blog post for more VideoScribe tips and techniques here.
Using Move-in
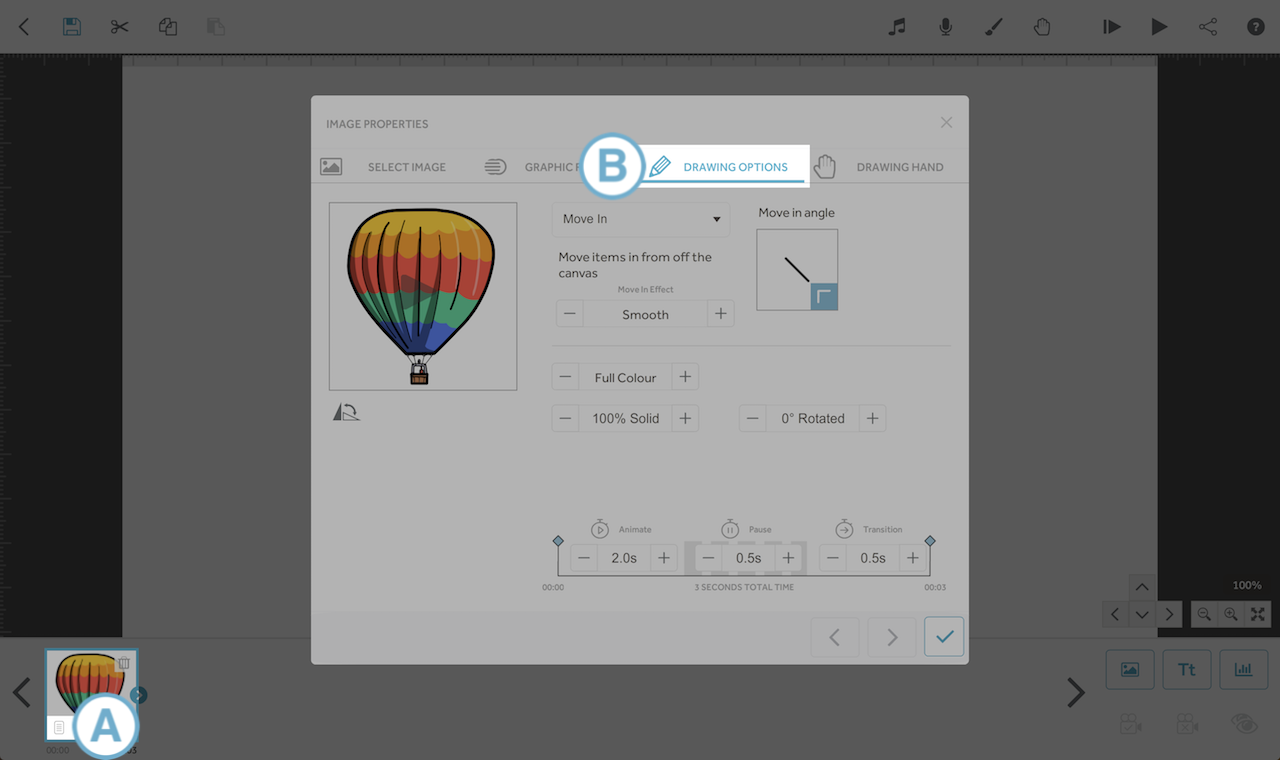
- The animate options can be found in the element properties (A) by opening the ‘Drawing options’ (B)
- You can also open the element properties by either double-clicking the element on the canvas, or by double clicking the element in the timeline
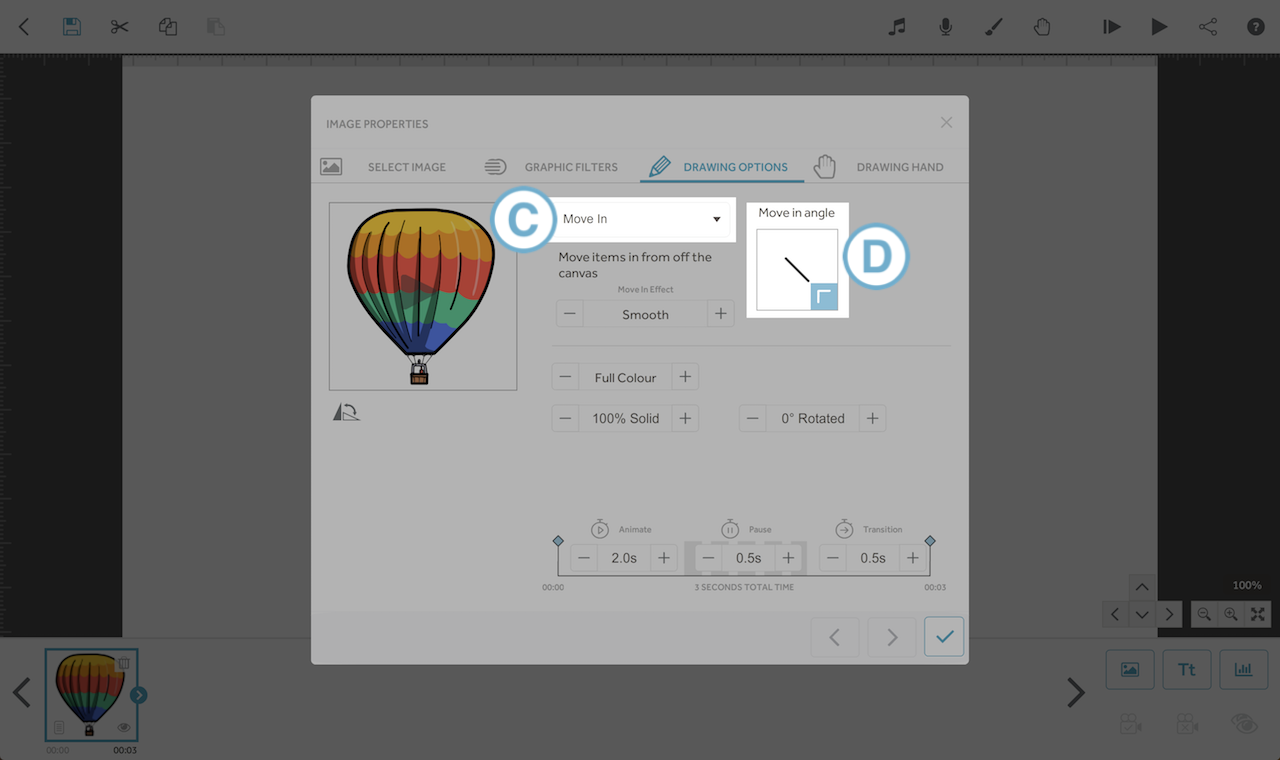
- Once you have selected ‘Move In’ (C) as the animate option, you will have a number of settings for how the element will be moved onto the canvas.
- You can change the angle that the element moves onto the screen by clicking in the ‘Move in angle’ box (D). This will change where the element is moved in from.
- Clicking the line in the centre of the ‘Move in angle’ box will make the element move in along straight or curved path.
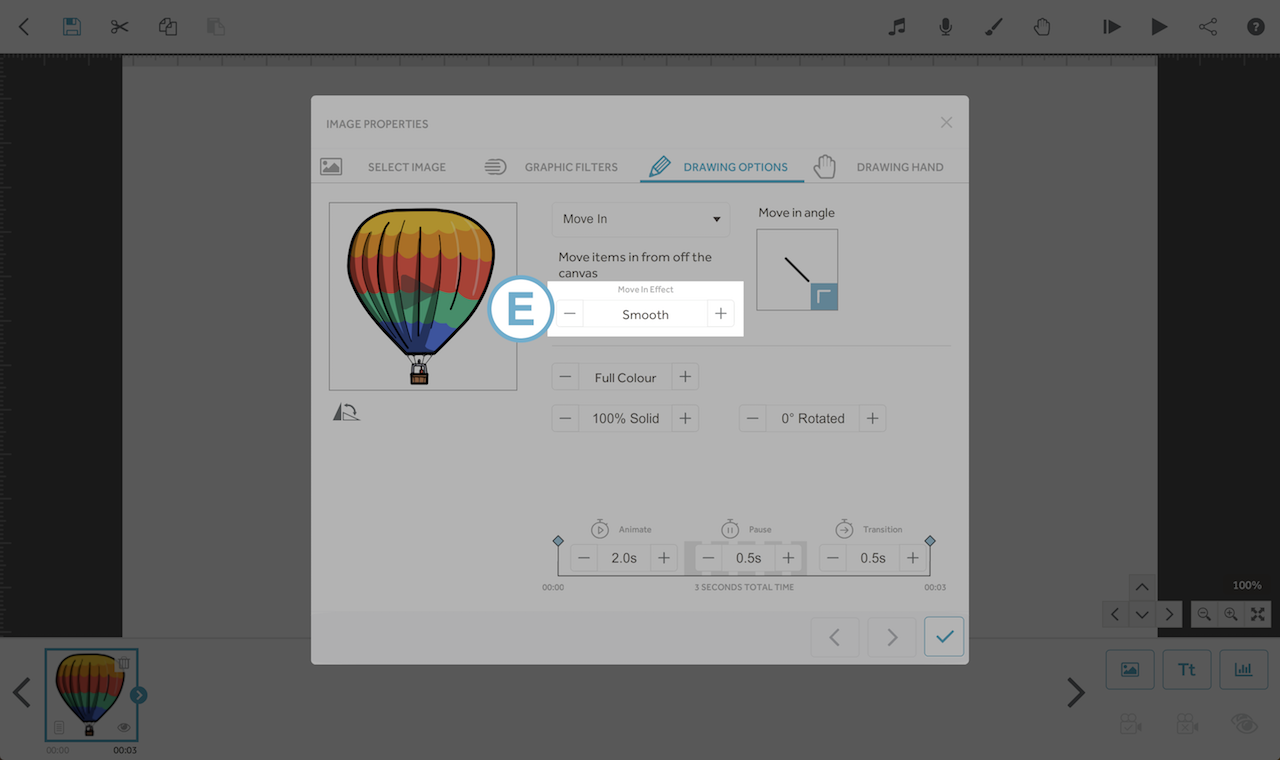
You also have different move in effects (E). The options to choose from are...
- Smooth
This option will smoothly move the element onto the canvas. The smooth effect is best when using a hand to move an element in. - Overshoot
This option will make the element go too far and then come back. - Bounce
The element will bounce when it is placed on the canvas. - Uniform
The element will be moved in at a steady, constant speed. This option is best when using a 'No Hand' move in effect, such as a car moving in from the side, or rain falling down from the top of the canvas.