Using animated GIFs - VideoScribe Legacy
This article will show you how to use GIF images from the VideoScribe library and also how to import your own
Please note: VideoScribe Legacy is the older version of our software. We continue to support it, but we recommend switching to the latest version to enjoy the best features and performance.
Click here to read the article on Accessing the latest version of VideoScribe.
Top tip: Feeling creative? Check out our blog post on creating your own GIFs
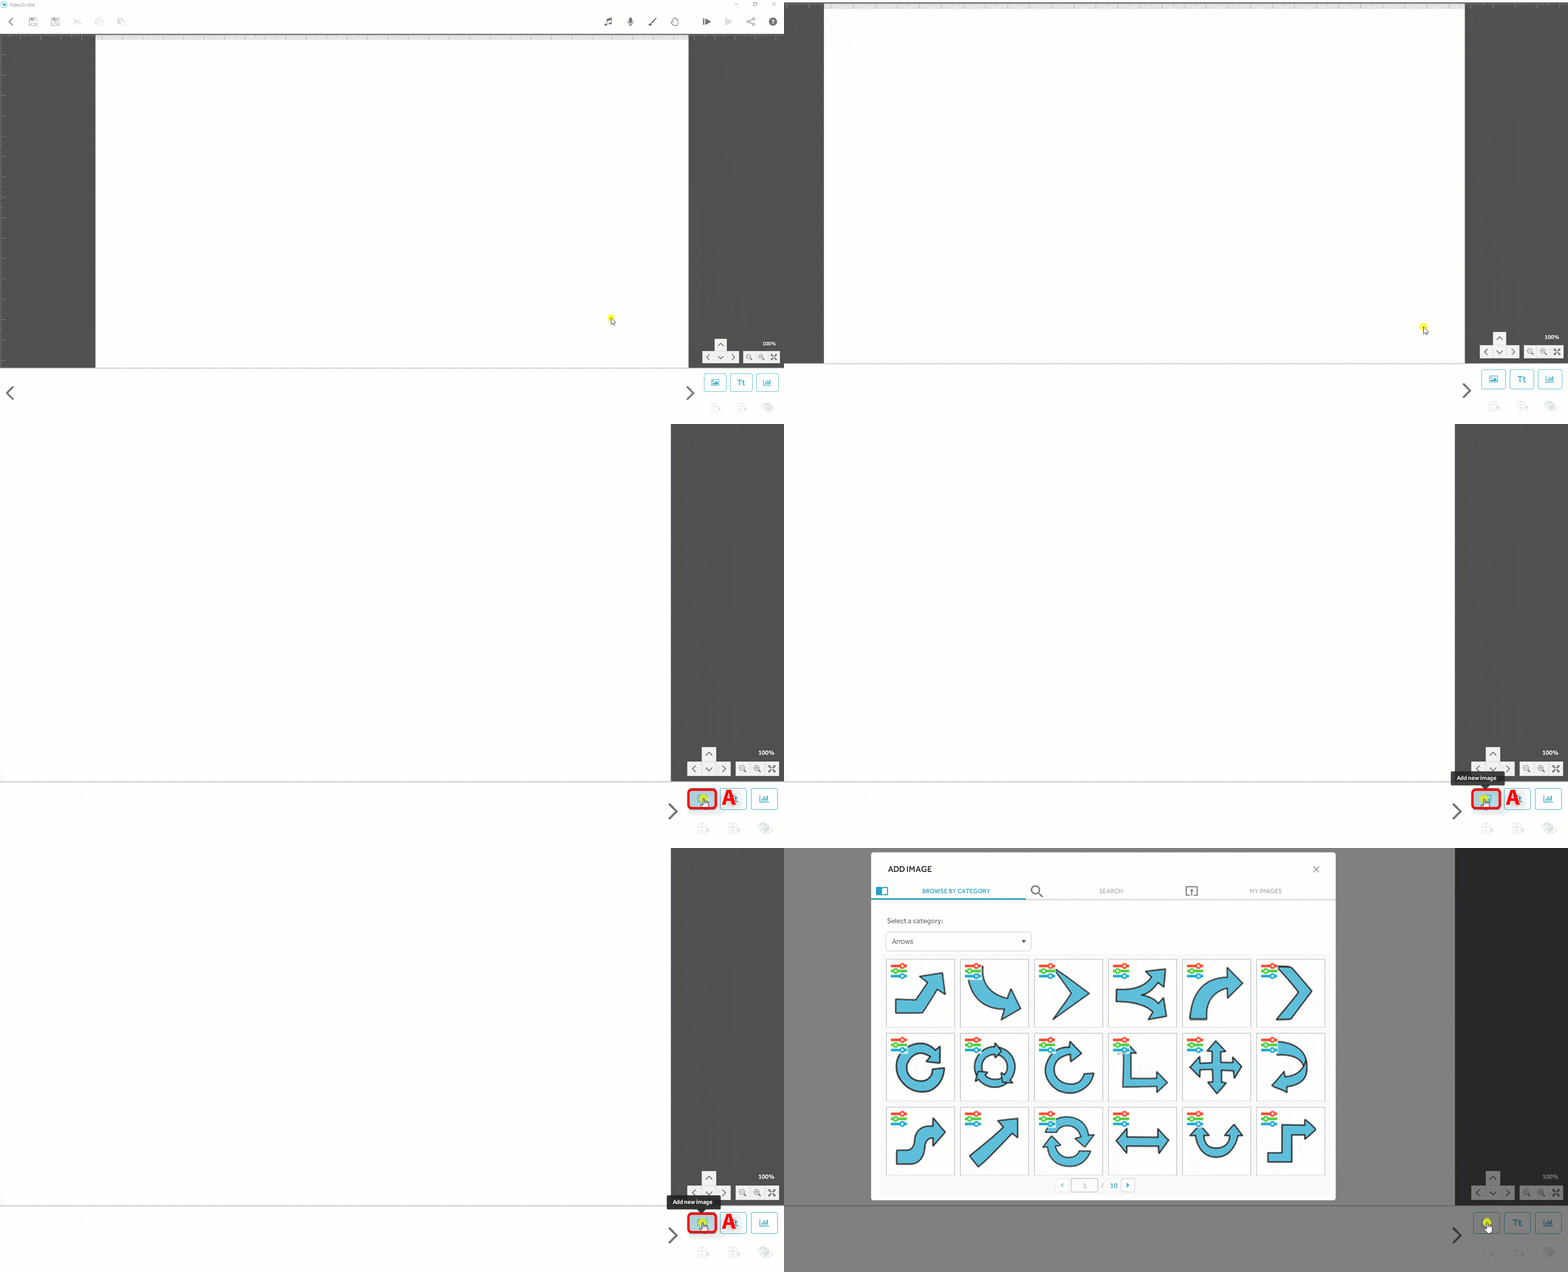
Step 1. Open the image library
This can be found by clicking on the add image icon on the toolbar (A).

Step 2. Locate your GIF
You can then choose an image by opening the drop down menu and scrolling through the list to find GIFs (online) (B), or by selecting the Search tab and searching for “GIF” in the search bar (C).

You can also import your own GIF images by selecting the My Images tab and clicking on the From my computer button (D).
 There are a number of different settings that you can change to get the effect you’re looking for.
Please note: GIFs with transparent backgrounds are not suitable for VideoScribe.
Step 3. Choose your GIF settings
Click on your GIF within the timeline, and select the ‘Image Properties’ option (E).

You can also open the element properties by double-clicking the element on the canvas.
The GIF properties will then be displayed in the Drawing Options tab (F).

The settings you can select and change are:
Play continuously (G)
Selecting this option will cause your GIF animation to continue playing even after your scribe moves on to the next element in your timeline
Watch our GIF intro video to see what this looks like
Animation length (H)
This setting changes how your GIF plays in relation to the animate time set on your GIF element:
- Fit to time - Your GIF will perform one cycle of its animation during the total animate time.
For example, a GIF that takes 2 seconds to animate at normal speed but has an animate time of just 1 second will animate at twice its usual speed. - Loop - Your GIF will continuously loop through its animation but only for the duration of the animate time.
For example, a 2 second GIF will play 5 times if the animate time is set to 10 seconds.
Blend effect (I)
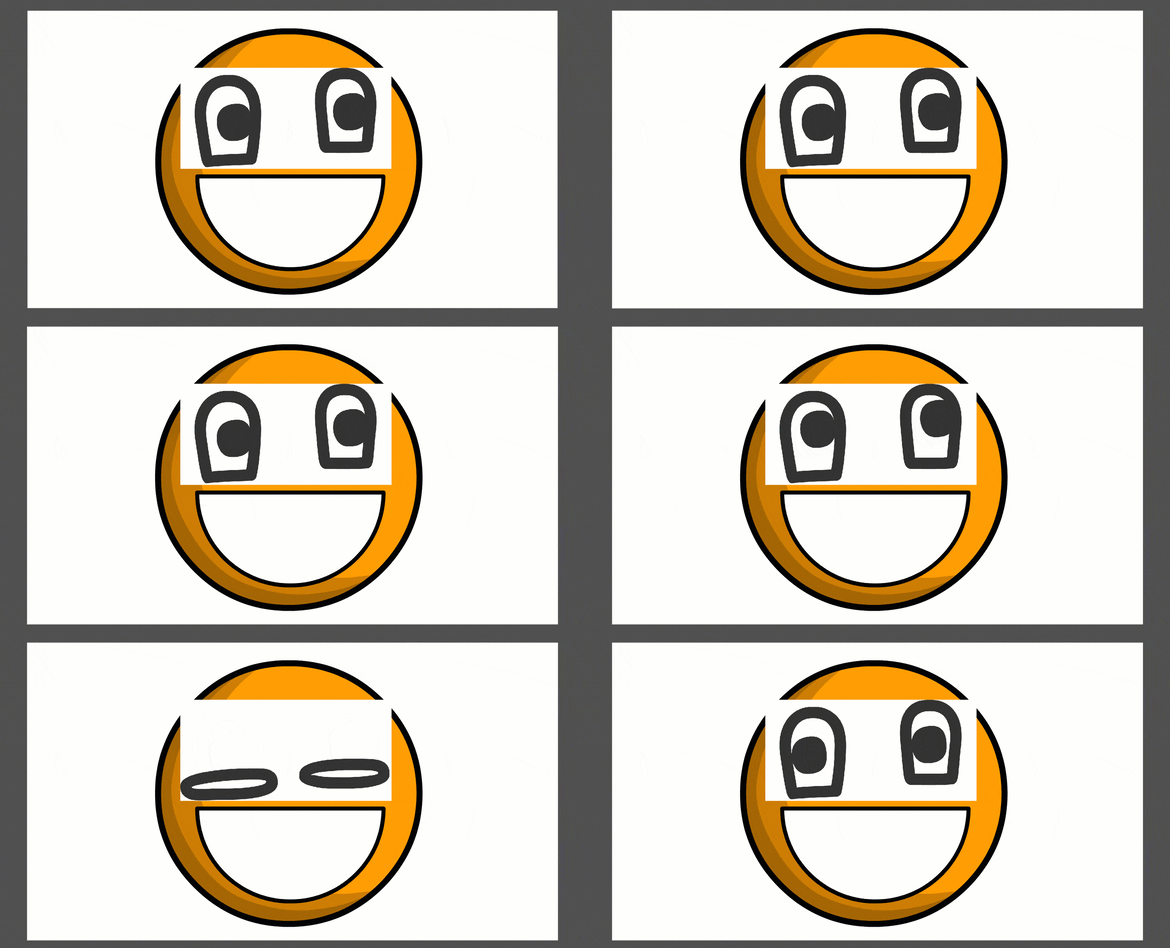
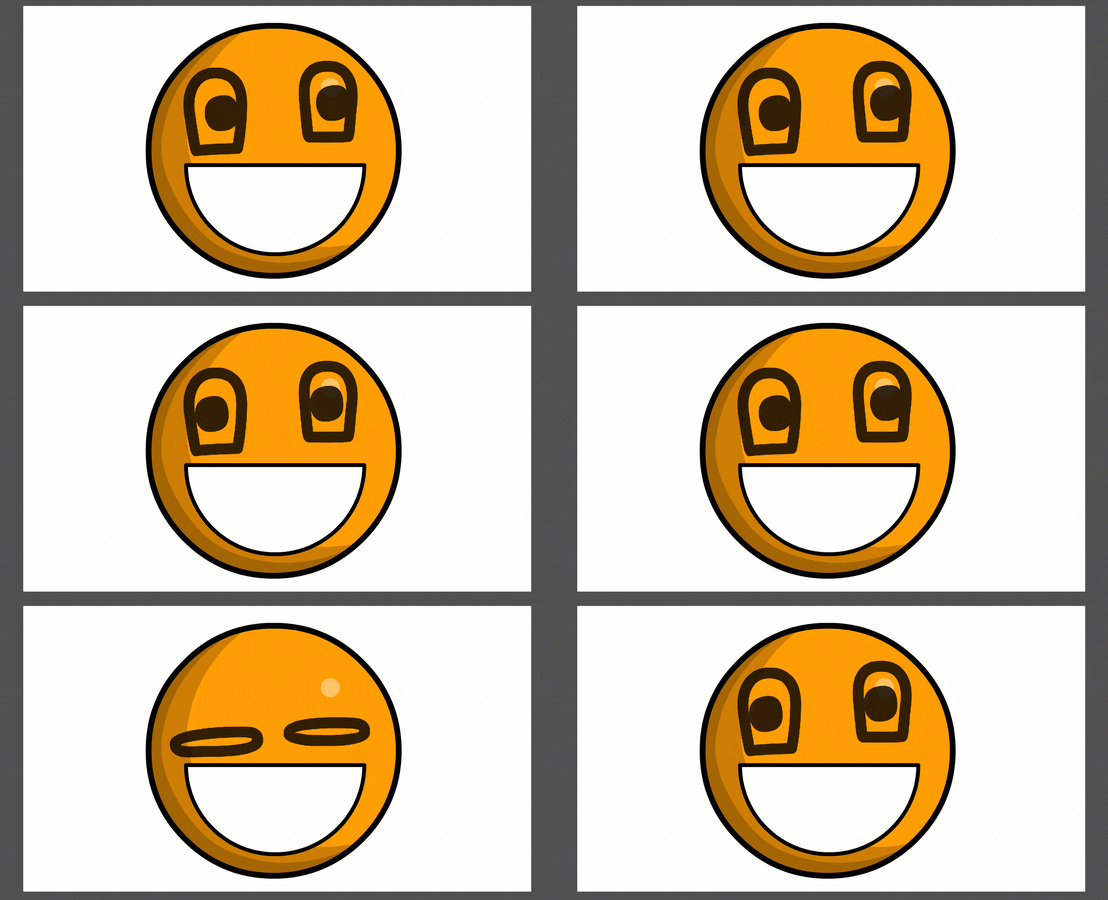
This setting changes how your GIF is displayed on the canvas. In the images below, the word 'Apply' is our GIF. You have 4 blend effect options:
- Normal and Layer- your GIF will appear with a solid white background, or one that matches any texture you've added to your canvas. This will hide any elements that are positioned behind your GIF on the canvas.

- Multiply - you are able to see the elements on the canvas behind your GIF. This is particularly useful if you have a GIF with a white background but don’t want that background to obscure the elements behind it.

- Difference - works in the same way as multiply but displays your GIF in negative. Any other elements that appear behind the GIF will also be displayed in negative.

If you’re using a GIF that you've imported instead of one from the VideoScribe library, the way it was originally created will affect the way it plays and appears.
Read Photo Blog Stop’s guide to blend modes to get the right settings for your own GIFs.